Note: you must be monitoring a vendor before you can send them a security questionnaire. Learn how to monitor a new vendor here.
Text walkthrough
Step 1: Log in to the UpGuard platform
Click here to log in to the UpGuard platform.
Step 2: Navigate to Questionnaires
Now that you're logged in, navigate to Vendor Risk > Questionnaires or click here to go straight there.
Next, select Send questionnaire.

Step 3: Search for your vendors
Use the search bar to look for a vendor by name or URL, e.g. 'Example Industries'. Select the vendor you'd like to send the questionnaire to, then hit Next to continue. Note you can also apply filters to filter your vendor list by labels, tiers or score.

Step 4: Choose questionnaire type
Choose between sending a previous questionnaire or a new, blank questionnaire. For this example, we'll choose to send a new, blank questionnaire.
Tip: If you've sent this vendor a questionnaire in the past and want to send them the same set of questions again, it's recommended that you select Send a questionnaire I've sent before. This will give you access to the Questionnaire Changes View, and keeps your Vendor page dashboard neat and tidy.
When you choose to send a blank questionnaire, you'll be able to choose what type of questionnaire you'd like to send, e.g. the default UpGuard questionnaire or the ISO27001 questionnaire.
You'll also be able to configure your risk visibility i.e. whether or not the questionnaire recipients will be able to see risk information. The default can be changed in Settings > Questionnaires at any time. Once you've made your selection, select Next to continue.

Step 5: Set schedule
Choose a due date for when recipients should complete the questionnaire by, an optional reminder date, and whether you want to be reminded to resend the questionnaire. When you've set up your schedule, select Next.
Step 6: Choose recipients
You can choose to send to an existing contact or add a new contact for each vendor you are sending the questionnaire to.
Once you've chosen your recipients from each vendor, select Next to continue.
Step 7: Name your questionnaire and add a custom message
Add or review the questionnaire title and message to be included in the email that goes to your vendor, then click Next to continue. The default message and title can be set in Settings > Templates.
Step 8: Review and send
Before sending your questionnaire, review the details and ensure you're sending it to the right person for each vendor. If everything looks good and you're ready for it to be sent, select Send questionnaire.
Congrats! You've successfully sent a security questionnaire on the UpGuard platform.
Check the Questionnaire Details page to see the current status of any questionnaire, the reminders set, revision history, correspondence, and a timeline.
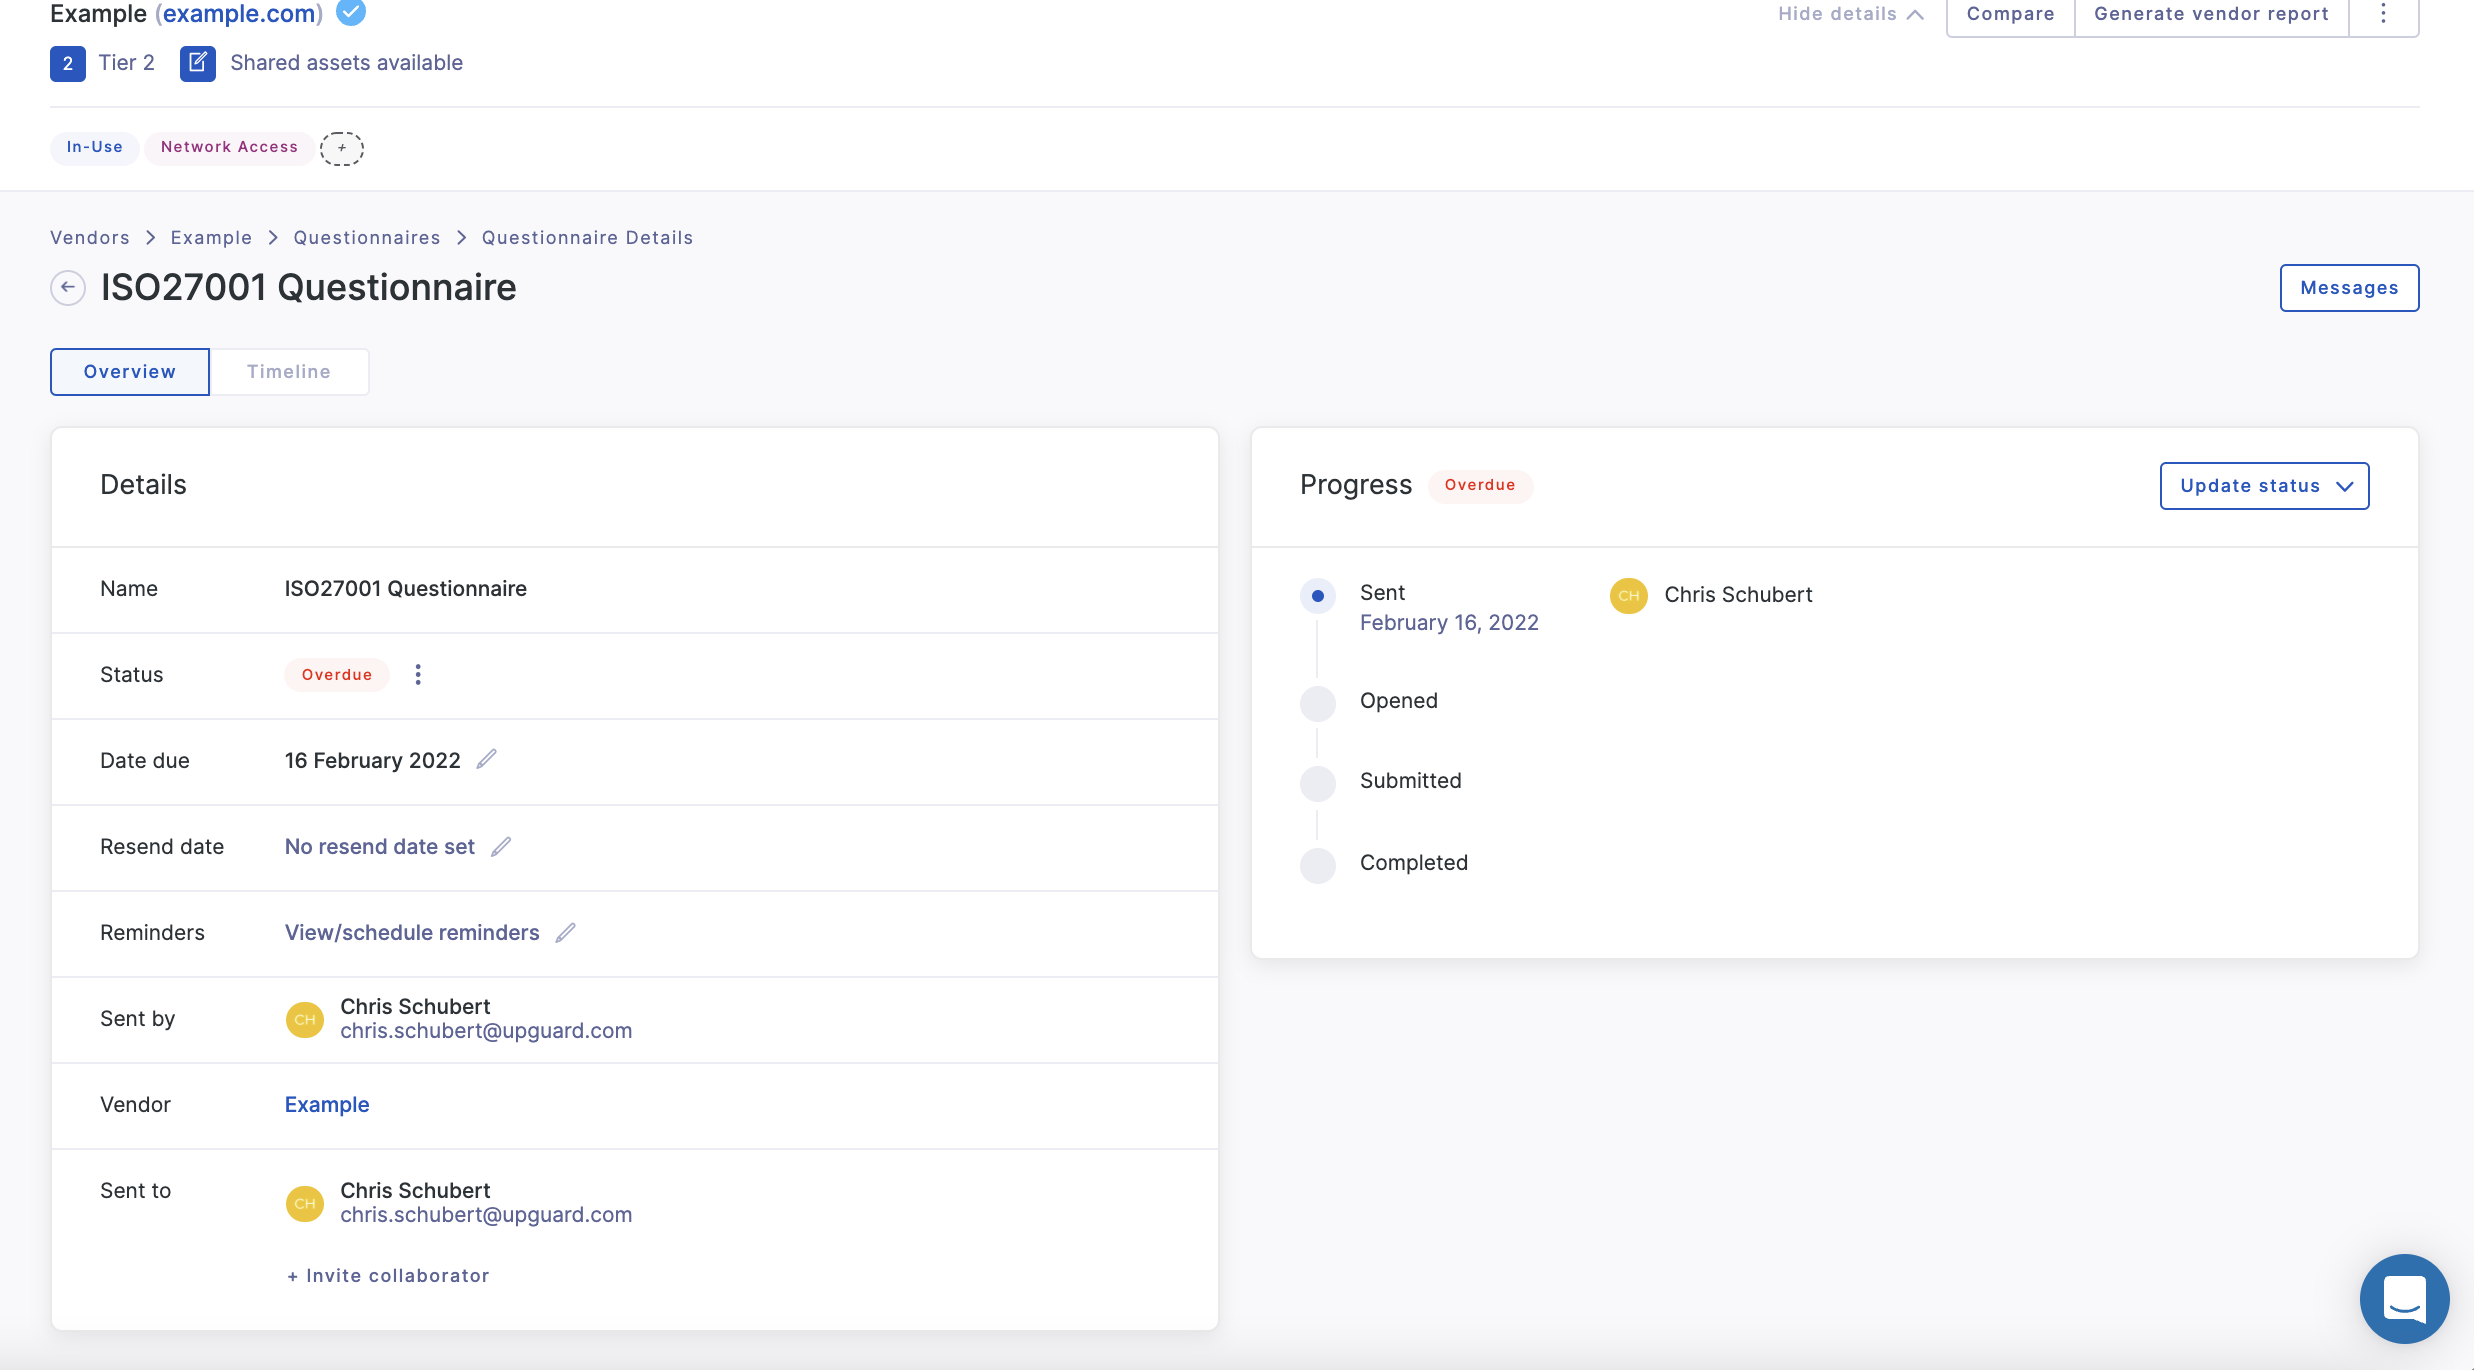
Step 9 (optional): Adding internal collaborators
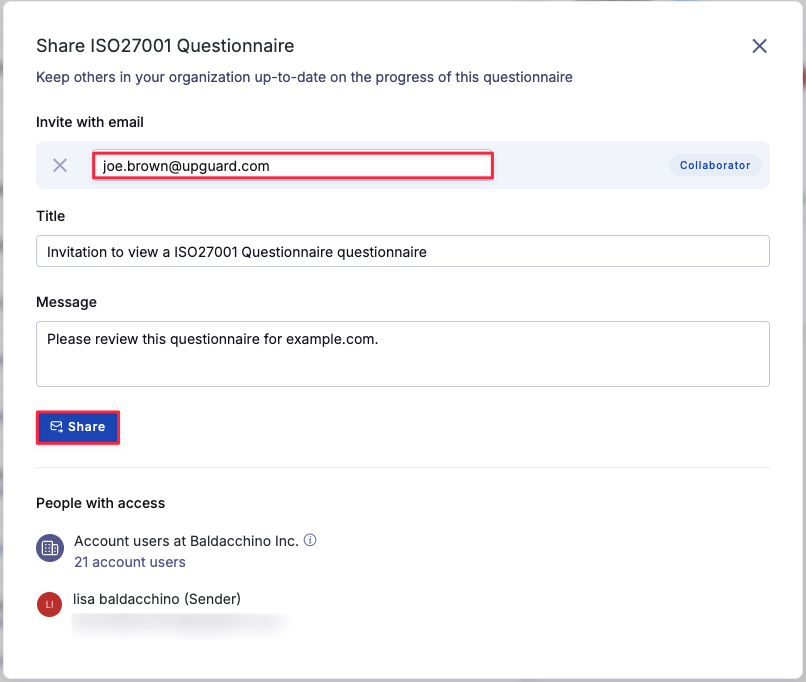
All UpGuard users with permission to view the vendor can collaborate on sent questionnaires. Adding collaborators helps give business owners visibility, enables vendor follow-ups, and allows other departments to contribute. To invite others, select Share with others in your organization from the Questionnaire Details page.

You'll be able to select the users you want to collaborate with, as well as edit the default message that gets sent to invite them. The default message can be set or updated in Settings > Templates.
Collaborators will receive an email invitation via email to join UpGuard, and will be able to view the questionnaire and any other questionnaire they have been invited to collaborate on, be notified on status updates, and provide input into questionnaire review via internal messages.