How to respond to a remediation request
Respond to remediation requests quickly and efficiently within UpGuard.
UpGuard customers can send remediation requests that result from security questionnaires and automated scanning results.
If you have received a remediation request and need to respond, keep reading. This article includes sections on accessing the UpGuard platform and responding to the remediation request.
You'll receive an email with the subject line "your_contact@their_domain.com from Company Name has requested remediation," inviting you to access UpGuard. This email will have a link to the remediation request you have been asked to complete.
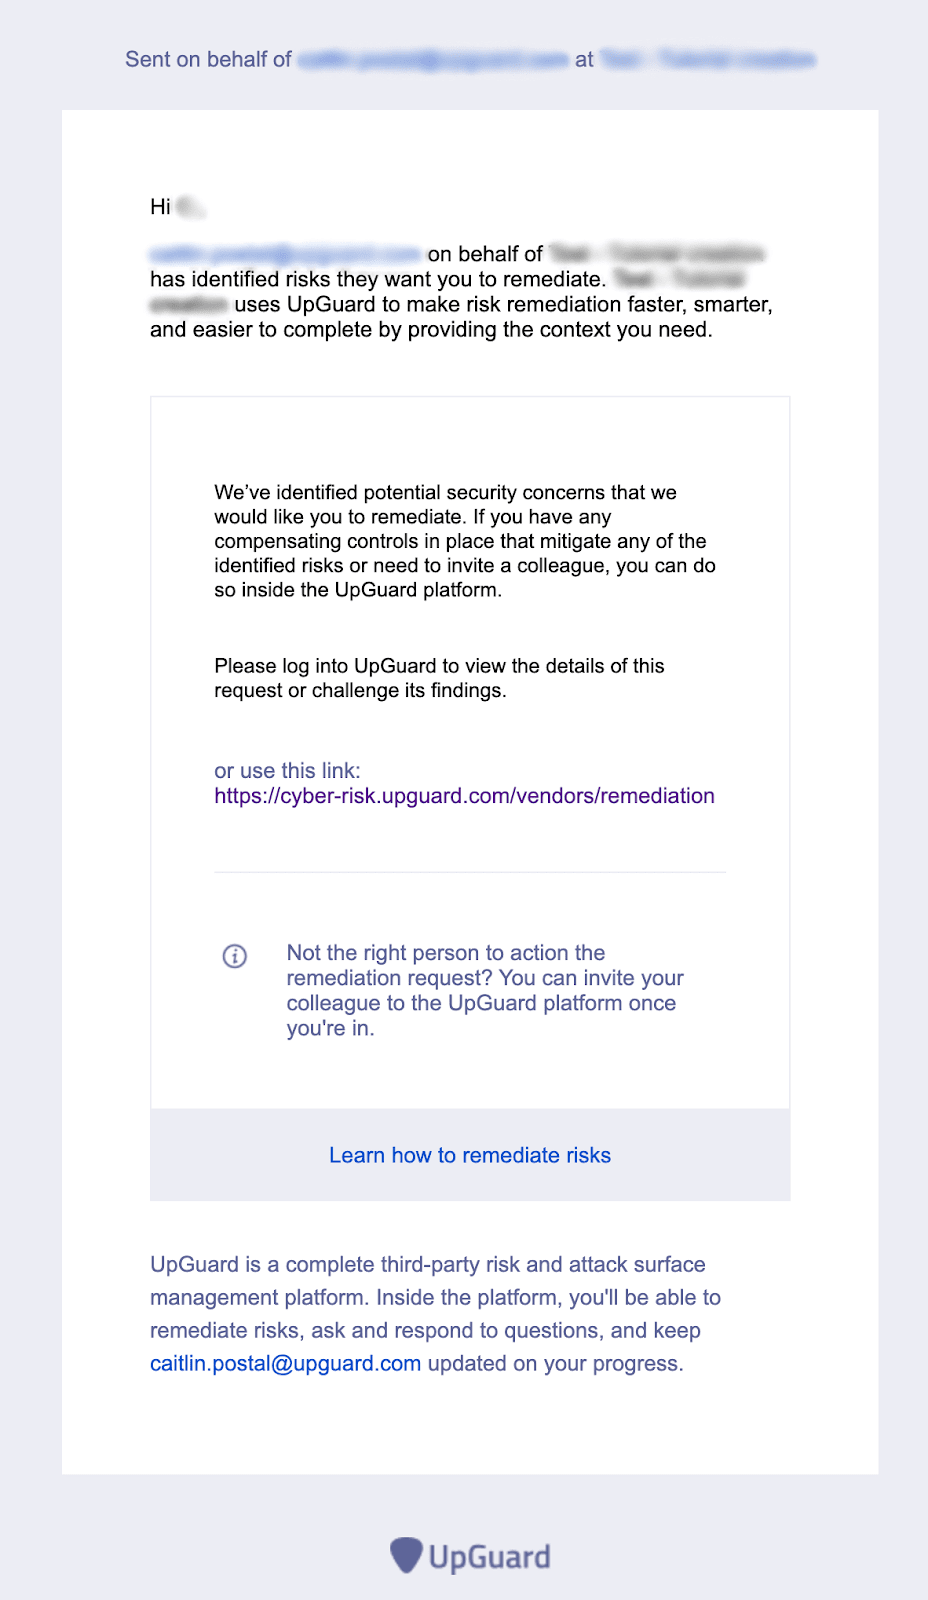
If you have not yet used UpGuard, you will be prompted to create an account. You can respond to remediation requests securely and invite collaborators to answer the questionnaire.
Note: If you can't find the invitation in your email or you're not sure if you have an account, you can always visit https://cyber-risk.upguard.com/ in your browser. From this URL, you'll be able to create an account, access a previously registered account, and access any remediation request that you have been invited to answer.
If you already have an account with UpGuard, log in and navigate to the Remediation Requests page, which will list any remediation requests that you have received.
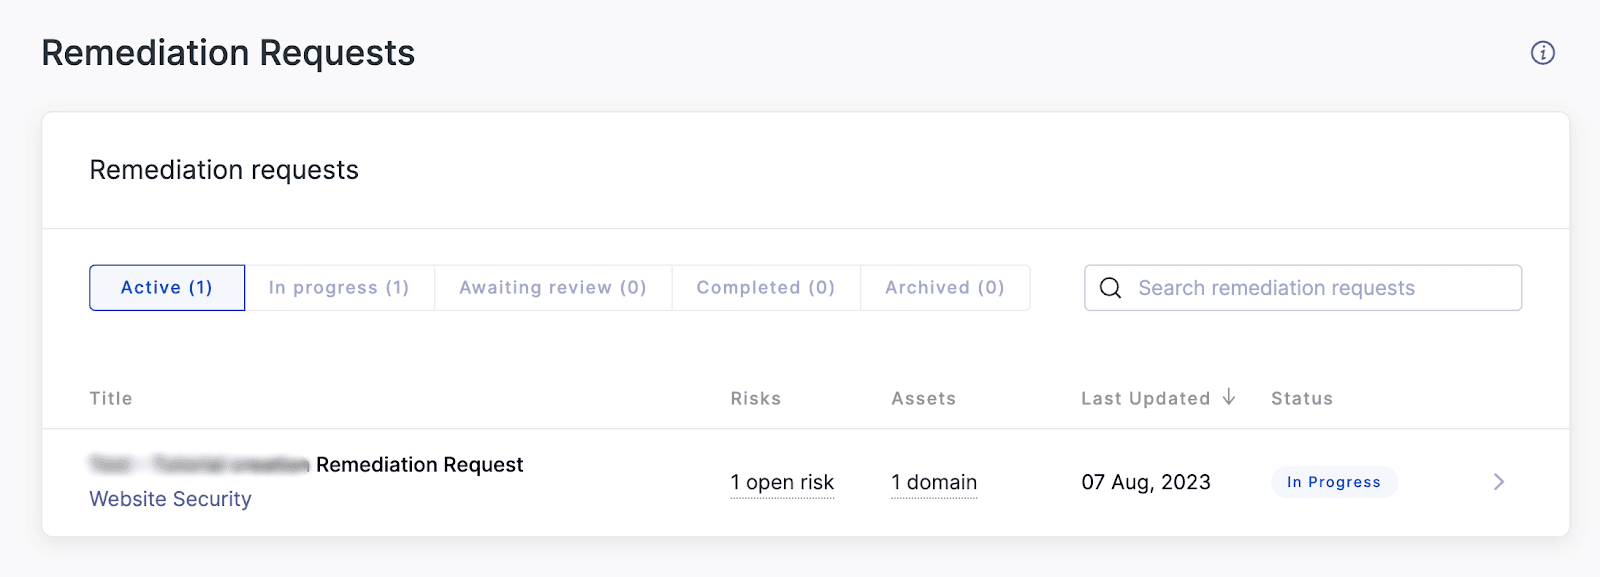
Answering the remediation request
After logging in, select the remediation request you need to answer. If this is your first time using UpGuard, it will most likely be the only request available.
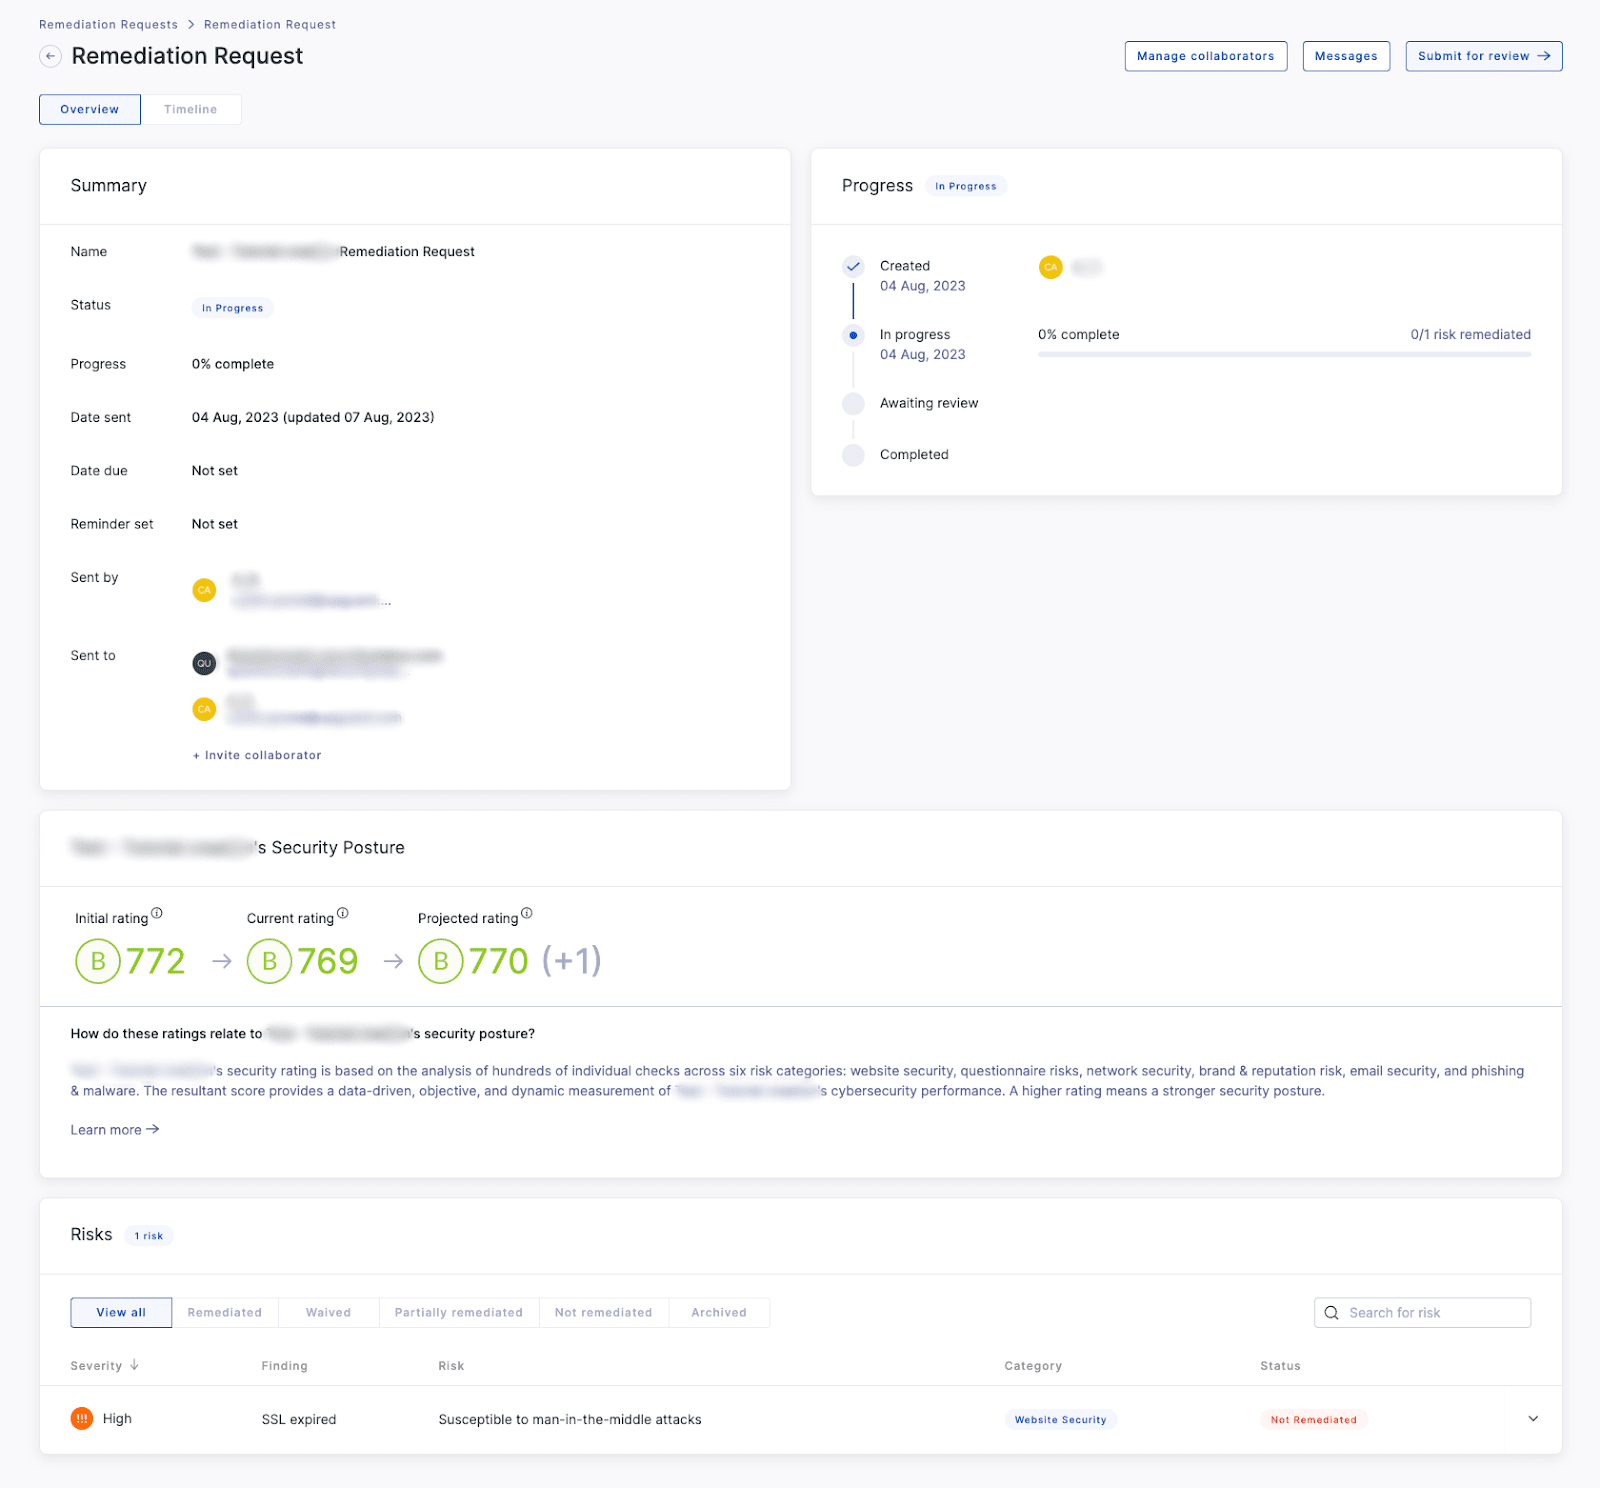
The Remediation Request page will load with four sections:
-
Summary: This section provides an overview of information for this request, including the contact information for the person who sent the request.
-
Progress: This section provides a timeline for the status of the request.
-
Company Name's Security Posture: This section provides an estimation of how the company's security rating will be impacted by this remediation request.
-
Risks: This section includes all risks that are included in this remediation request, as well as any specific assets impacted by the risk.
You can expand individuals findings in the Risks section to identify impacted assets.
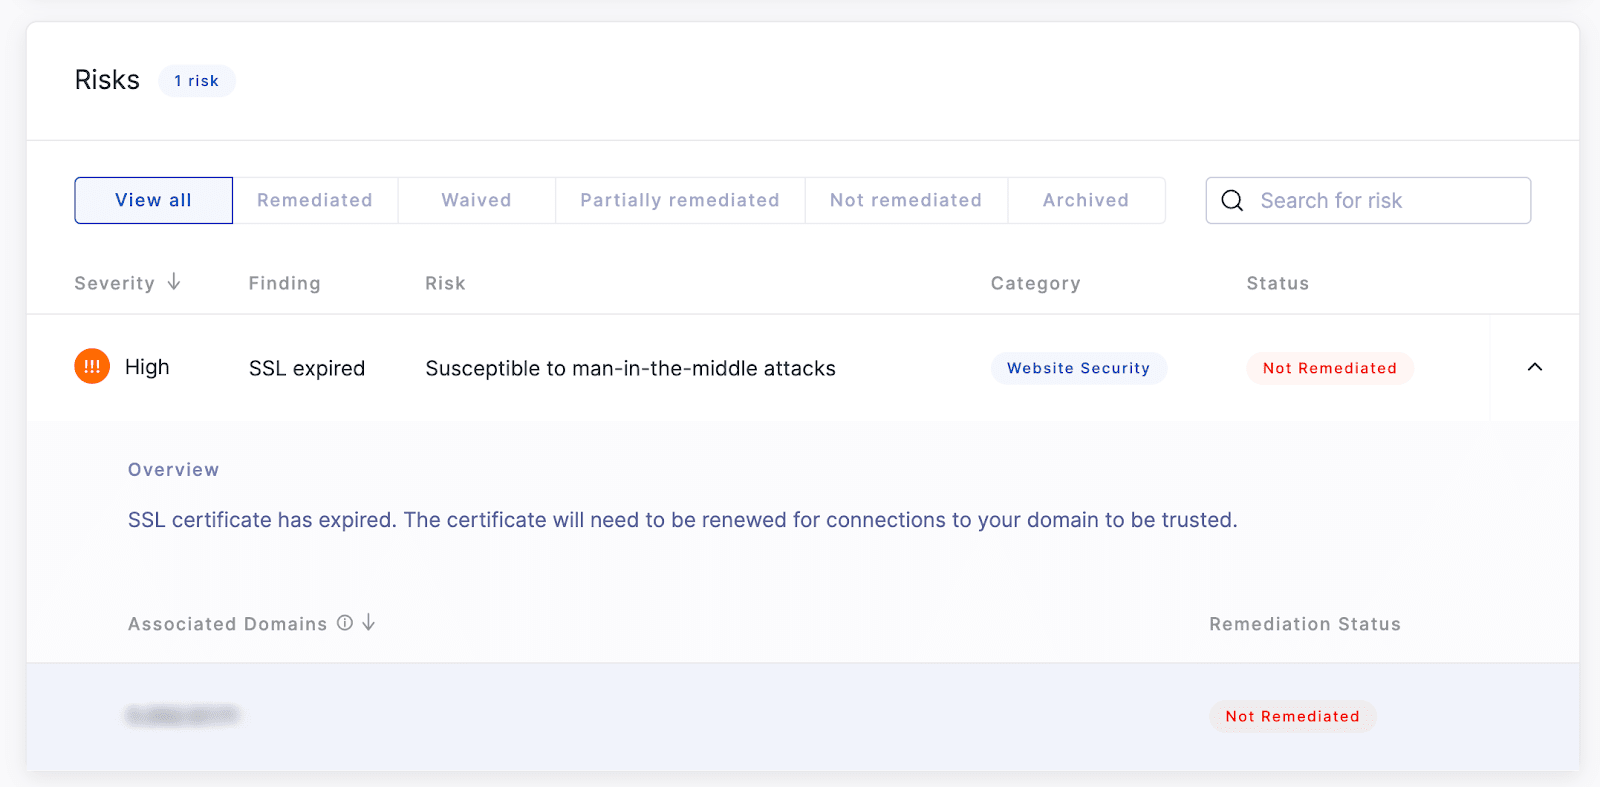
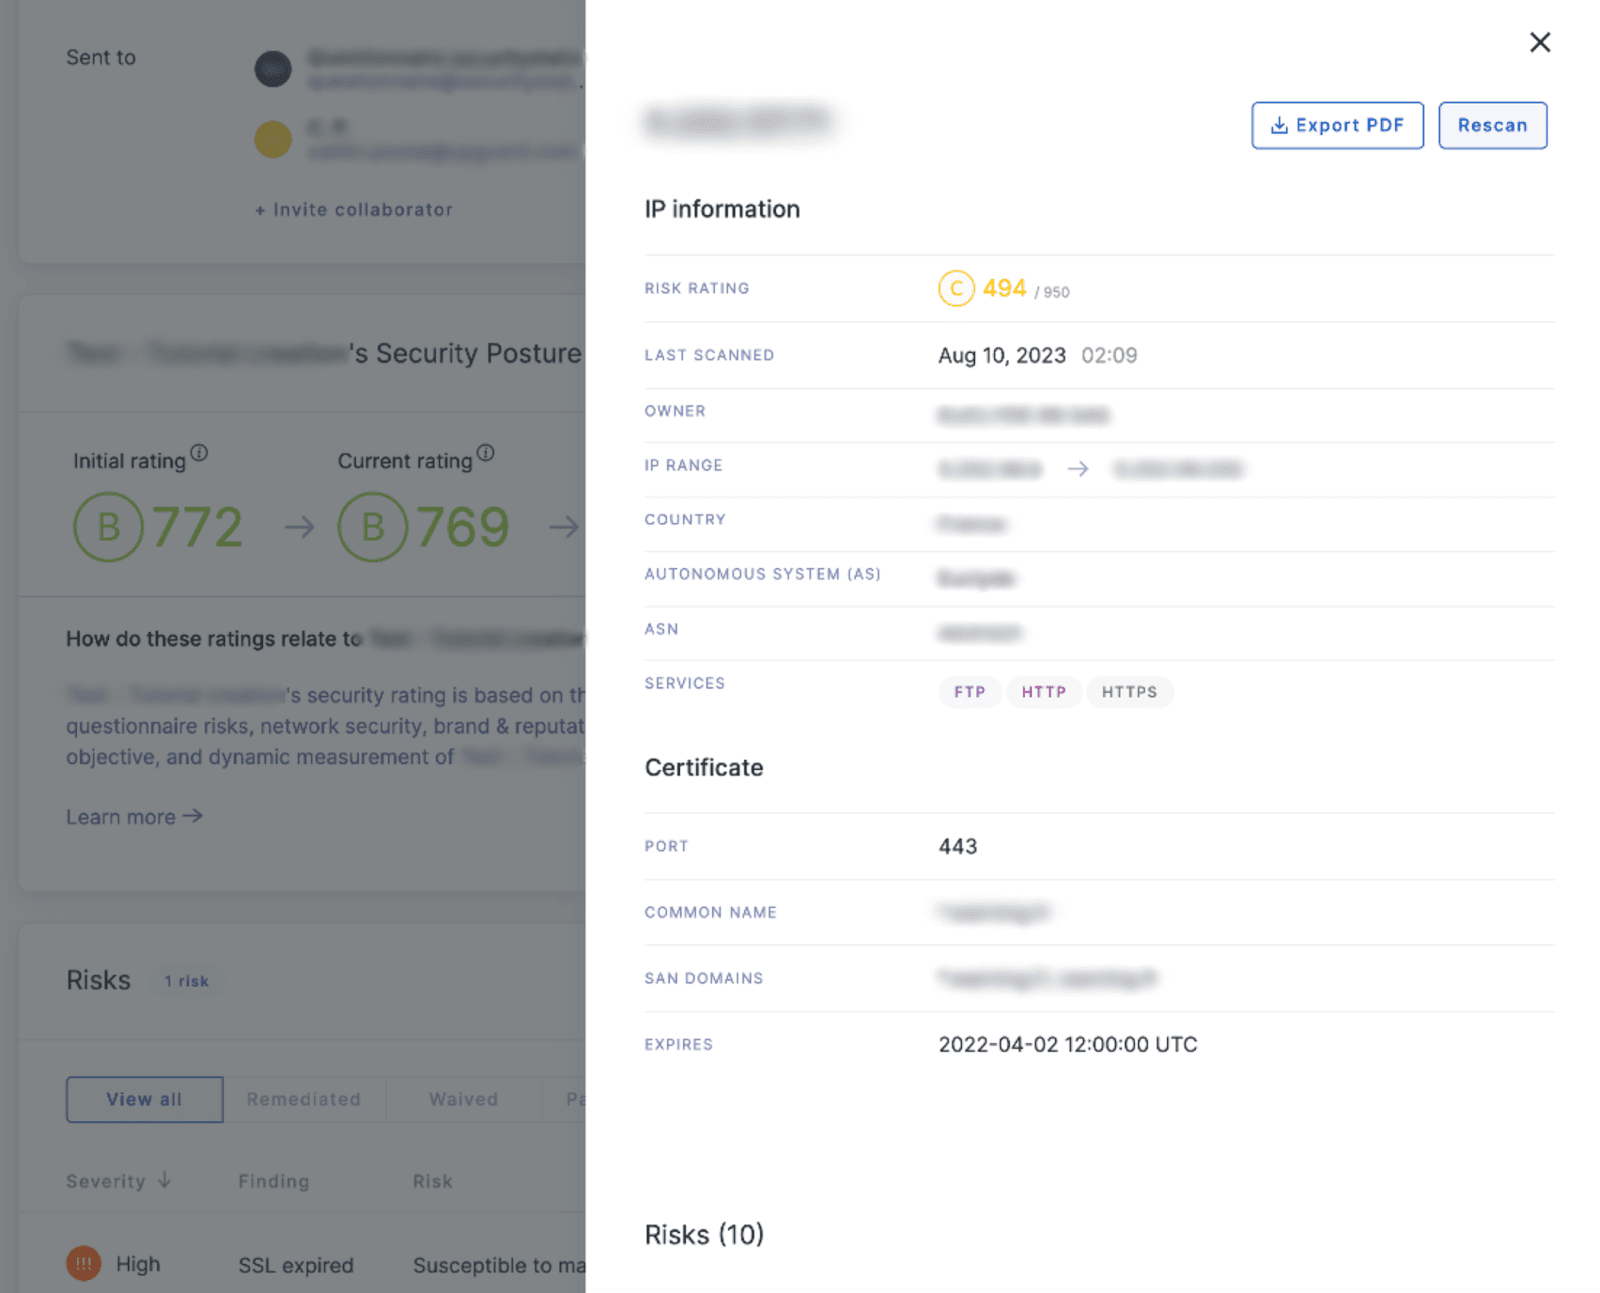
Selecting a domain or IP address from the list will load a panel with additional information about that asset. You can review all the risks identified for the asset, export a report for the asset and associated risks, and rescan the domain (after you have mitigated any open risks). You can request a manual rescan at any time, though UpGuard automatically rescans assets on a daily basis so risks that have been remediated will be reflected within a short period of time.
When you have completed any mitigation activities and you are ready to send the remediation request back to your contact, press the Submit for review button. You can also use the Messages button to open a communication panel if you need to communicate with the person who sent this request.

Further reading
If you need to answer a questionnaire you have received, read our article on How to answer a security questionnaire with UpGuard.
To continue learning about UpGuard's remediation workflow, read these articles next:
