UpGuard allows you to create or upload documents and associate them with your vendors.
This feature is commonly used to create a quick note or store longer documents associated with the vendor. This could be information about what project the vendor relates to, why the vendor has been engaged, or any other important information like contract dates, SLAs, internal business owner, or anything else you want to store.
We currently support a max file size of 10 MB and the following file extensions: jpg, jpeg, png, pdf, docx, xlsx, csv, and pptx files.
Step 1: Navigate to the vendor
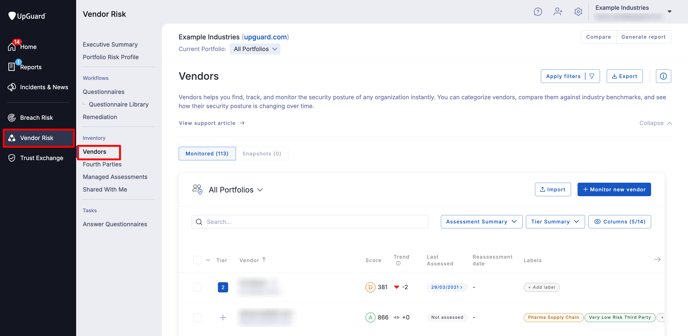
Navigate to Vendor Risk > Vendors or click here.
Step 2: Select a vendor
Once you’re on the Vendors page, click on the search bar (1), type in the name of the vendor you want to associate the document with, and then click on the correct row (2). You can search by name or URL. If you aren’t monitoring the vendor, you will need to monitor the vendor first.
In this example, I am searching for UpGuard which is a vendor I am already monitoring.

Step 3: Head to documents
Now that you’ve selected the vendor, navigate to Documents.

Step 4: Add note or document
Now that we’re on the documents page, we can add a note or document. Regardless of whether you want to create a quick note or upload a file, click Add note or document.

Step 5: Create and save
Once you click Add note or document, a modal will appear with three fields: title, description, and file. Both the description and file upload are optional. This provides you with the flexibility to create a generic note or upload files (or a combination of the two). In the example below I’ve added a title, description, and file.
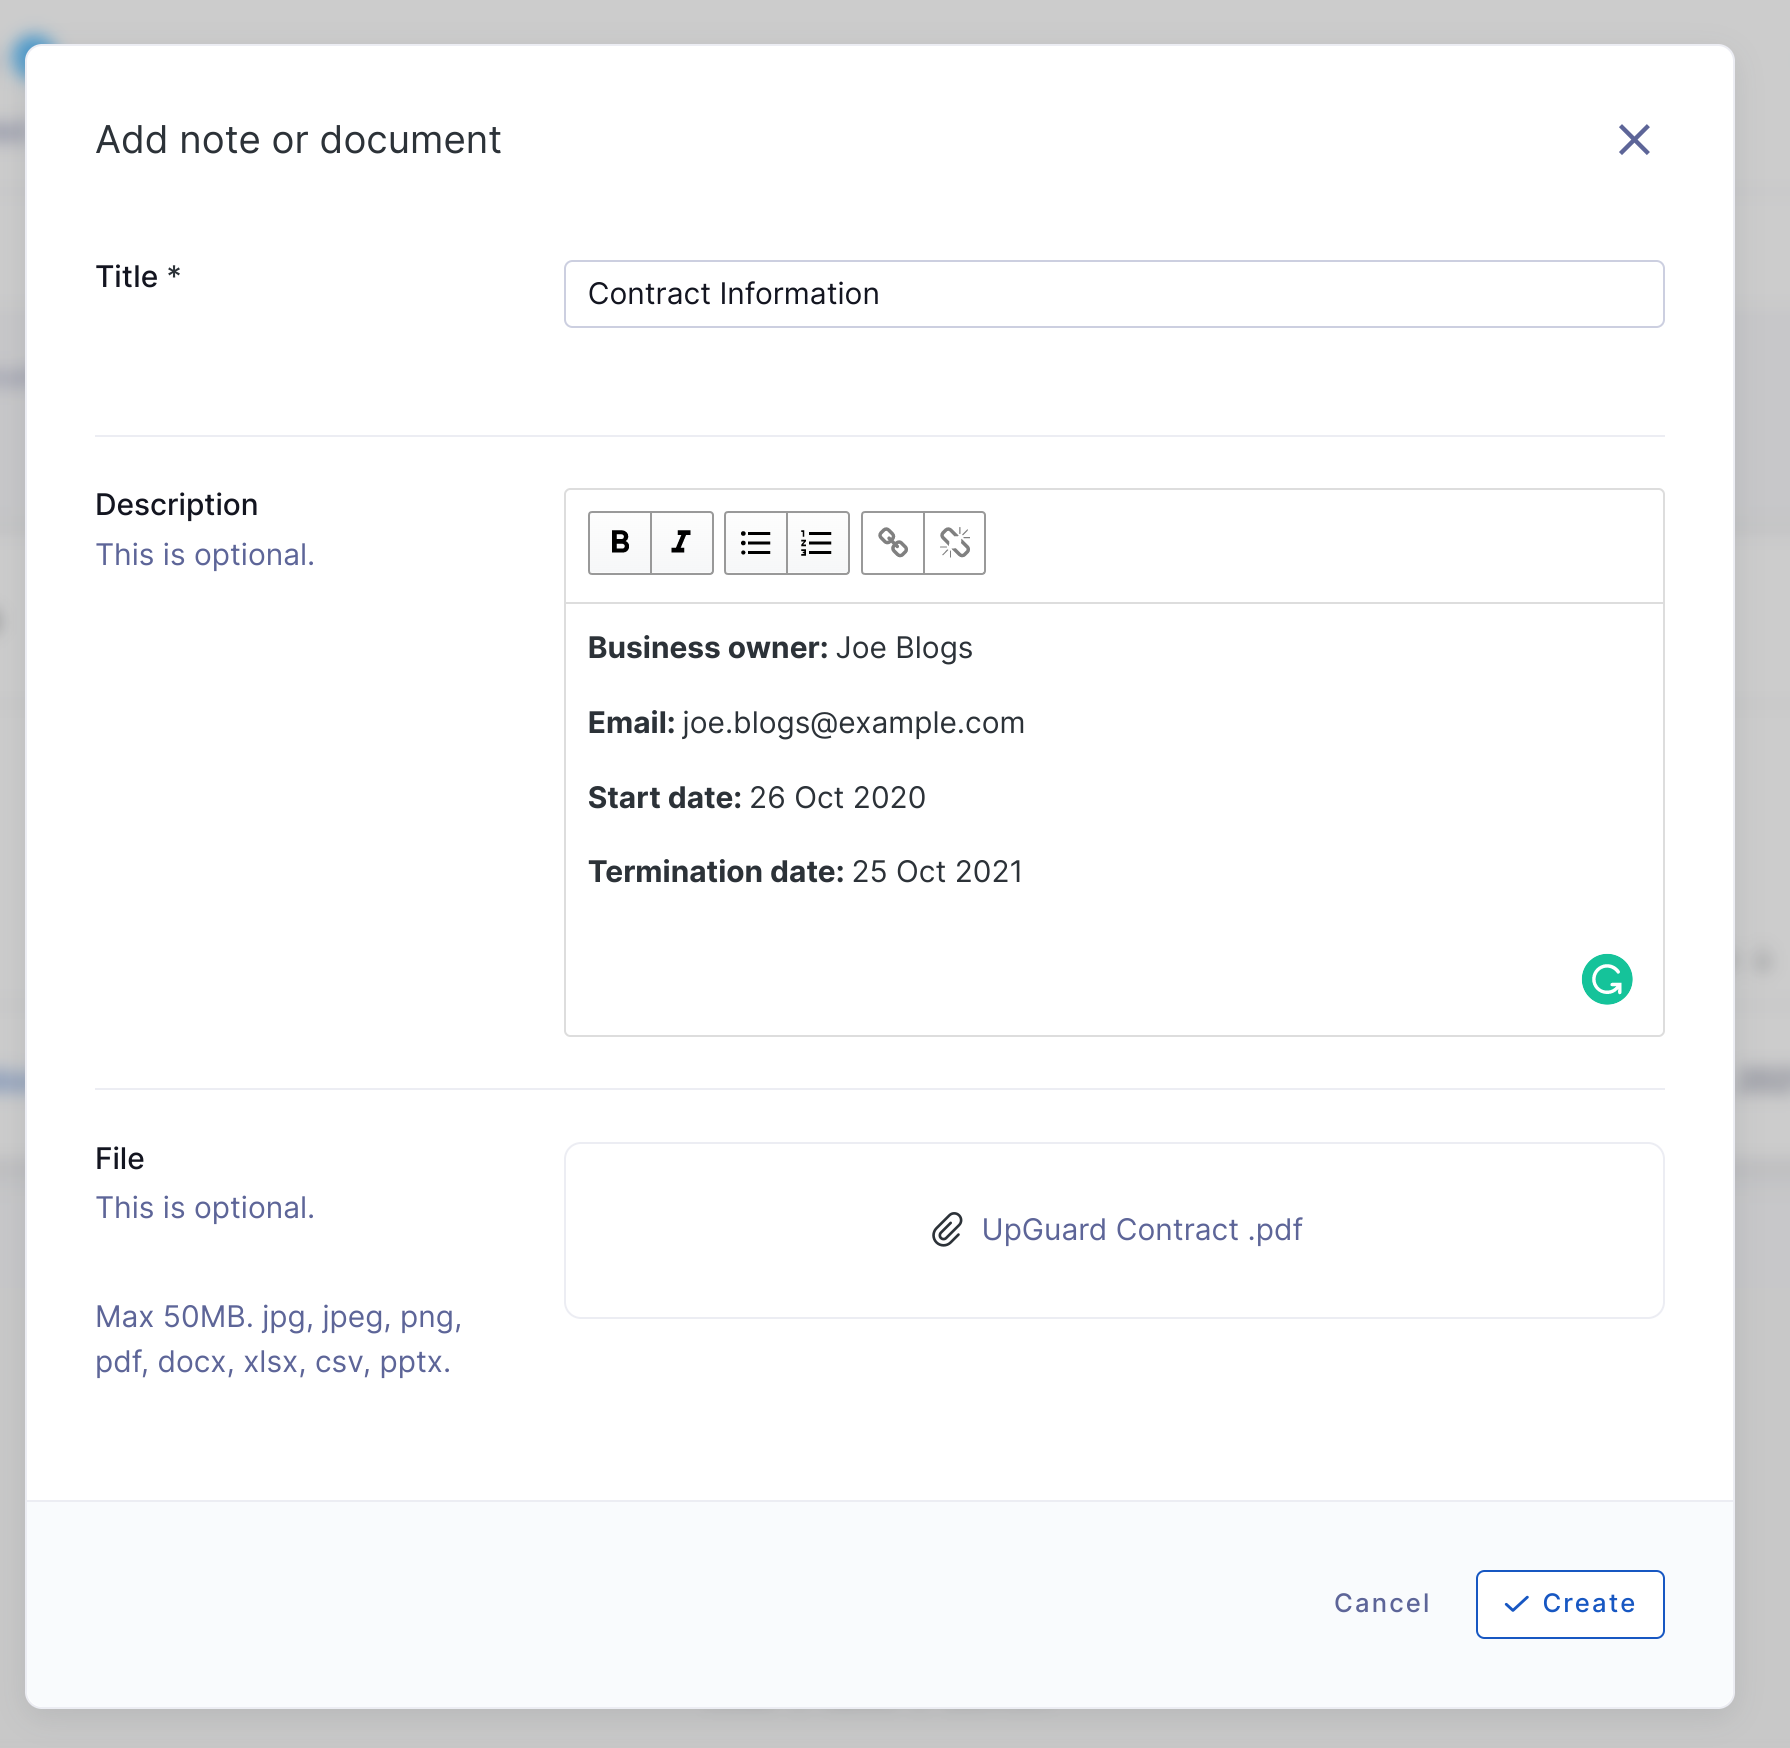
Once you are happy with your new document, scroll down, and click Create.
-2.png)
Step 6: View and manage your document
You can view your document by selecting the corresponding row. Select More actions to edit, download, delete, or convert your document to additional evidence.

See also: