Some emails sent via the platform can be sent to people who are not yet familiar with UpGuard, such as questionnaires or remediation request recipients. To help improve trust when external users receive these emails, we allow you to set up your company domain for email sending.
Setting up a custom email address
Note: You will need to be an account admin to set up a custom email address.
- Click the Settings cog in UpGuard's top-right corner.
- Click the Co-branding tab.
- Select Setup a custom email address.
Next, you'll need to set up the details of your custom sender. Set up the fields as follows:
-
Email domain - the domain part of the email address you want to send from. You or someone at your organization will need access to edit DNS records for this domain.
-
Default sender name - The "from" name that should be used by default in emails.
-
Default sender email address - The "from" email address that should be used by default in emails.
-
Always use default sender - Select this to always use the name and email you have set in the "Default sender" fields when sending emails externally.
-
Use user email address when possible - Select this to send emails as if they were from the user that initiated the action, wherever possible. Users will need to have the same email domain as the one set up here in order for this to work.
Configuring and verifying DNS records
In order to make sure emails will be reliably delivered whilst using a domain you control, there are 2 DNS records that need to be set up. For further information on why these records are important, read more about DKIM and Return-Path here.
The records that need to be set up are outlined on the configuration page once you have saved the details of your custom sender:

You may need to forward these details to whoever in your organization controls the DNS records for your custom domain.
Once the records have been added, click "Check now" to verify that the DNS records are in place. Usually, it only takes a few minutes but may take up to 48 hours in some cases.
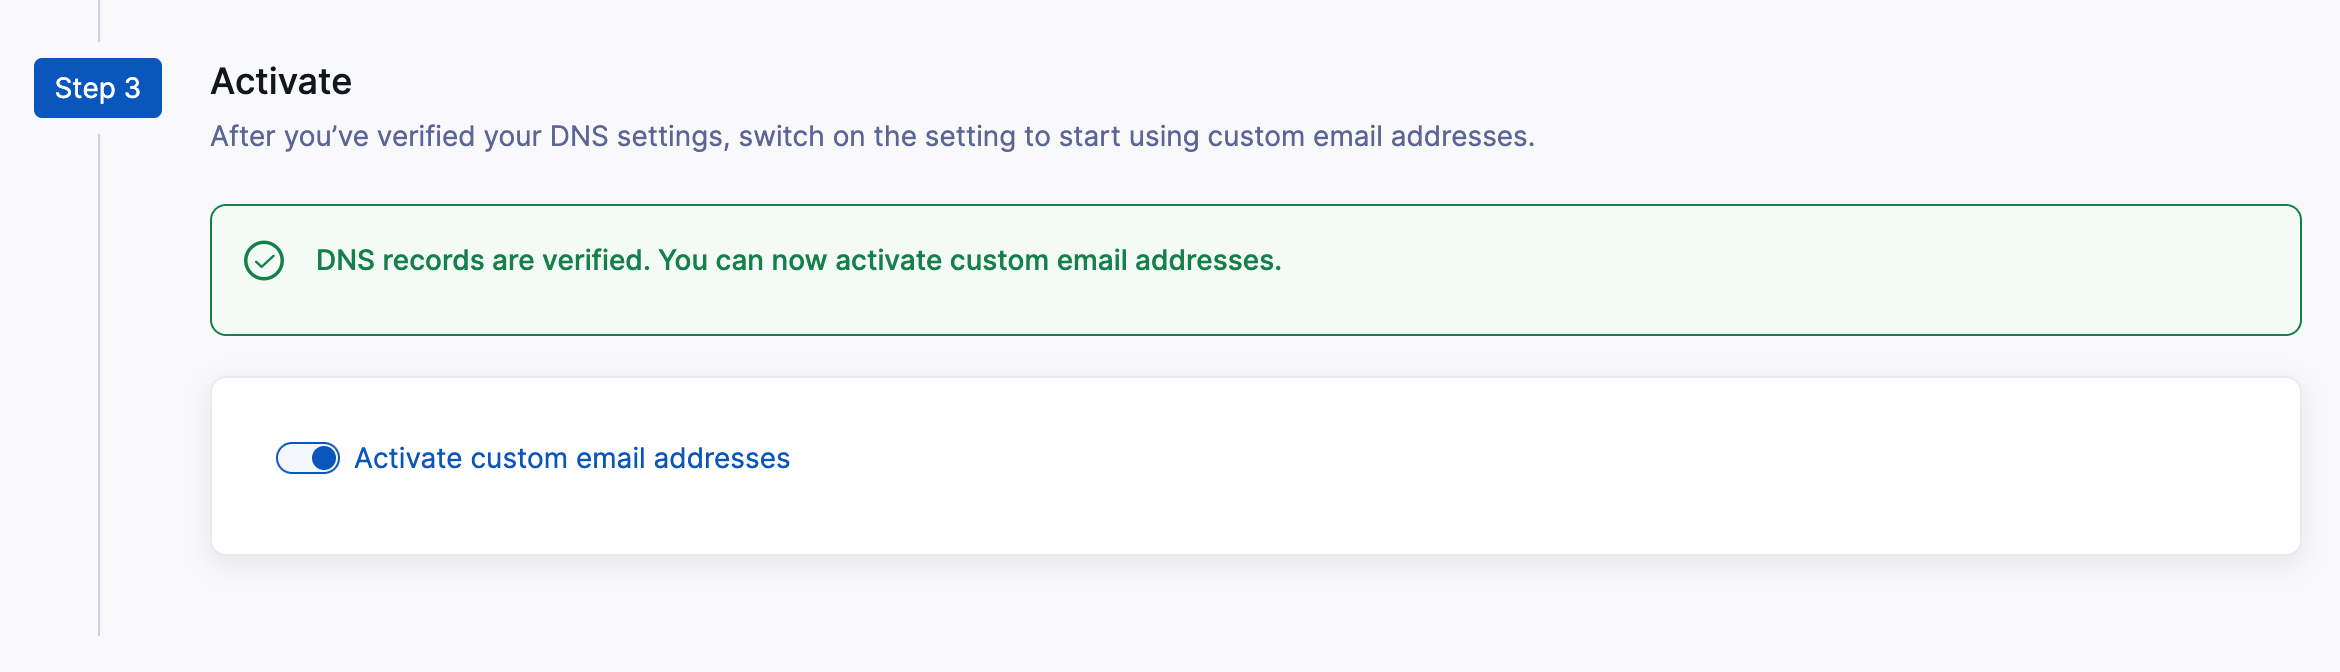
Activating your custom sender
When the DNS records have been successfully verified, the final step is to activate the custom sender. You can do that via Step 3 on this screen.
Once activated, emails sent externally to your organization (such as questionnaire invites and remediation requests) will now come from your custom sender.