How to integrate notifications with ServiceNow
Send important notifications from UpGuard to ServiceNow via webhooks if ServiceNow is your ITSM toolset.
If your organization uses ServiceNow or a similar Information Technology Infrastructure Library (ITIL) for managing your IT services, you can integrate any UpGuard notifications to be sent to ServiceNow. Integrating UpGuard notifications with ServiceNow will keep your asset management and evaluation streamlined in the tools you currently use. Pairing your UpGuard notifications with other tickets for your team's needs can improve your operational efficiency and ensure that you have all the relevant information routing to the necessary parties.
Routing notifications into your ITSM platform enables you to keep track of various incidents in venues accessible to your team. While you can [manage your notifications] within UpGuard, we recommend adding an integration that routes to ServiceNow for items that need additional action to be completed outside the UpGuard platform, such as the following commonly used notifications:
-
When a new identity breach is detected
-
When a new identity breach for a VIP email is detected
-
When a new data leak is published
-
When a typosquatting domain becomes registered
-
When new vulnerabilities are detected on a domain or IP
-
Custom notifications regarding risks of a specific severity level
In this article, you will use the UpGuard webhook integration with the ServiceNow Rest API to integrate with ServiceNow's ITSM package (to create Incidents, Problem records, and Change records). This approach is the fastest method to achieve the desired integration. First, you will set up the ServiceNow Incident records with UpGuard events, then you can optionally customize it with alternative fields. Finally, you will learn how to extend the ServiceNow Incident records with Security Incident records.
Step 1 — Creating a user to enable a ServiceNow endpoint
Begin by logging in to your ServiceNow account to create a new Service Account (User). Select All from the Navigator options. Search for Users and Groups, then select Users.
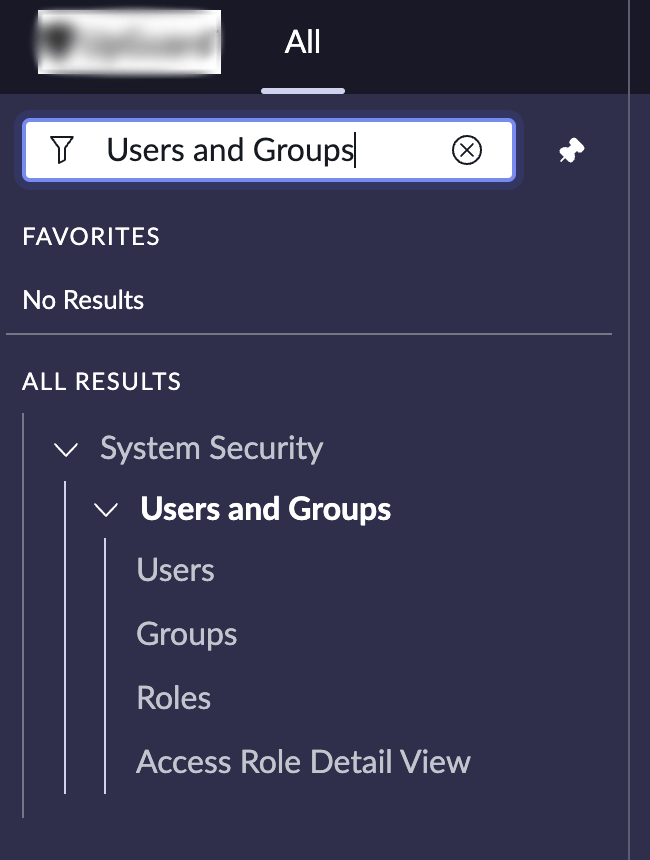
On the Users page, click the New button to load a new user setup.
Create a new user with a name and password that you will use later in this guide. We recommend something memorable like svc_api_upguard for the username. Finally, enable the Web service access only option, which will limit the user to API actions only so they will not be able to log in to the user interface.
Your final ServiceNow user creation will be similar to the following image:
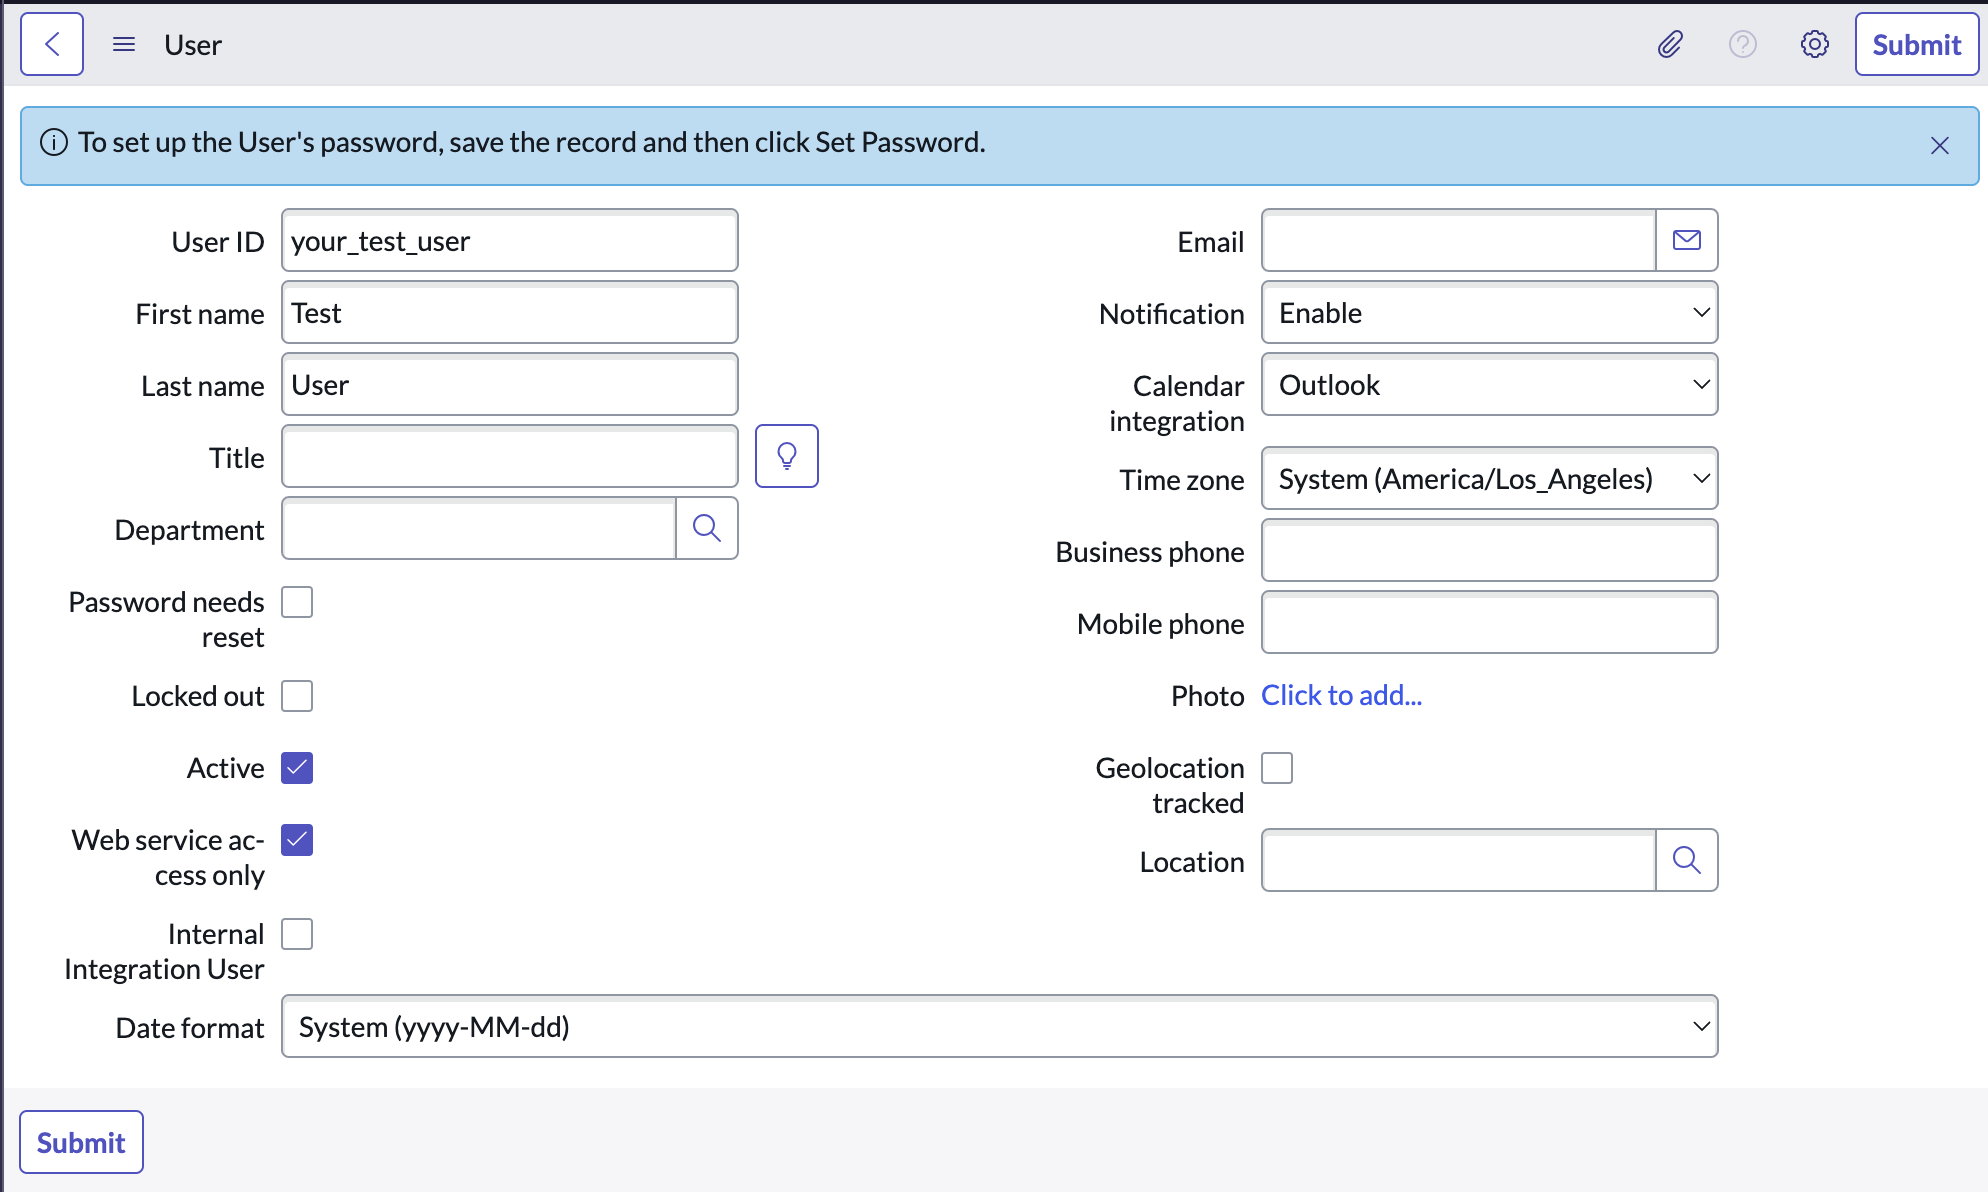
Submit the ServiceNow user to set up the API user in ServiceNow. Once you have created the user, be sure to set the password with the Set Password option, as you will need the login credentials to sync this ServiceNow API user with the UpGuard trigger integration.
Step 2 — Creating an UpGuard webhook integration for ServiceNow
Then, open UpGuard in a new tab or window. Ensure that you are logged in with administrative privileges, as only administrators can manage the integrations for your account.
- Click the Settings icon in UpGuard's top-right corner.
- Click the Integrations tab.
- Select + New Integration.
- Choose Webhook from the modal.
You'll have the option to select triggers for your notifications. For common use cases, we recommend selecting the notification triggers categorized under Identity Breaches, Typosquatting, and Data Leaks for your initial alerts.
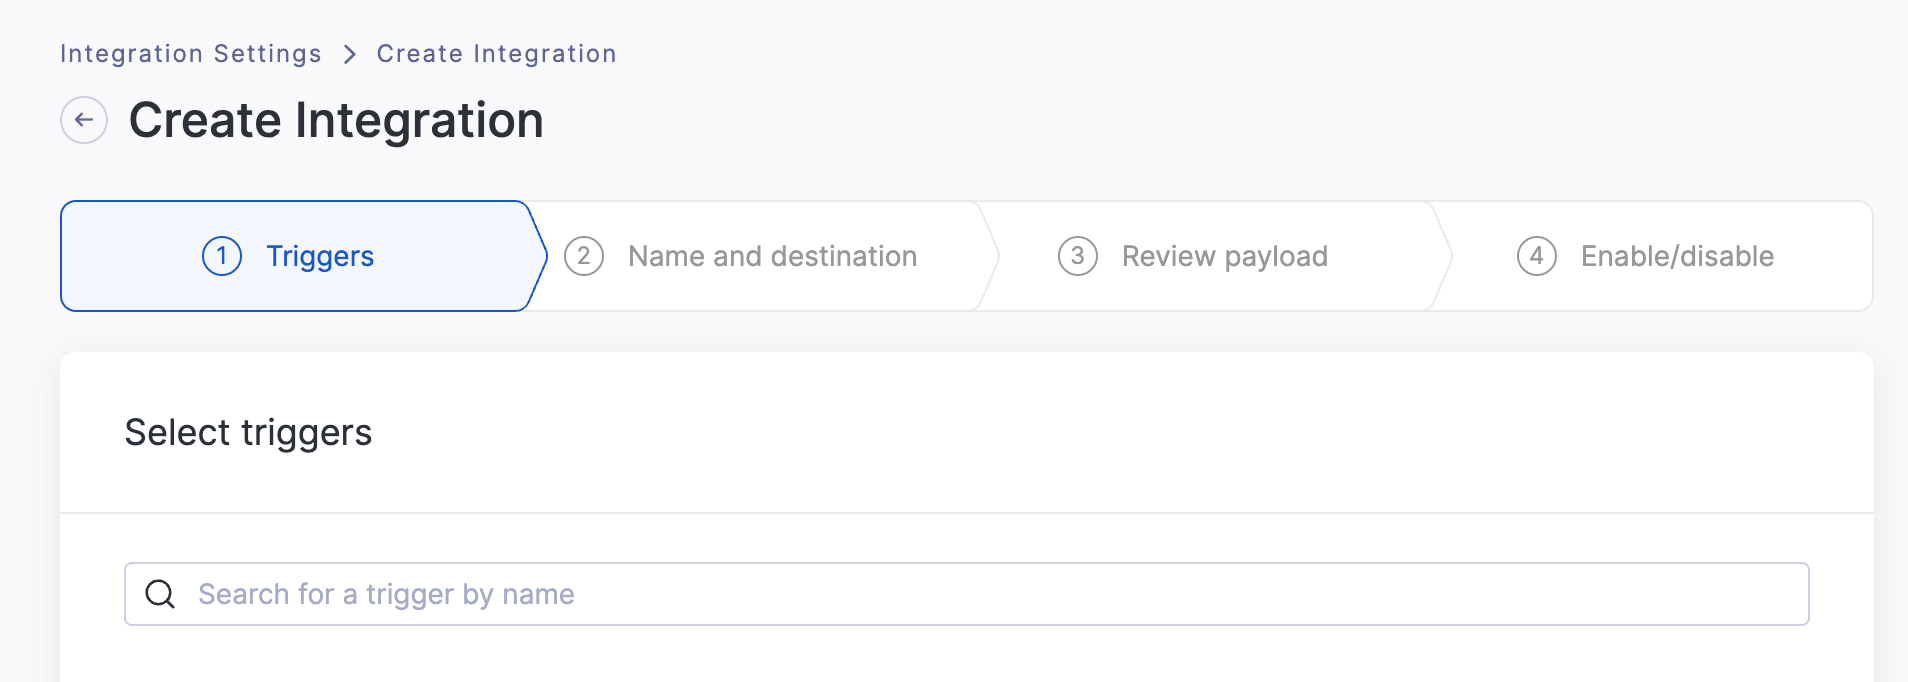
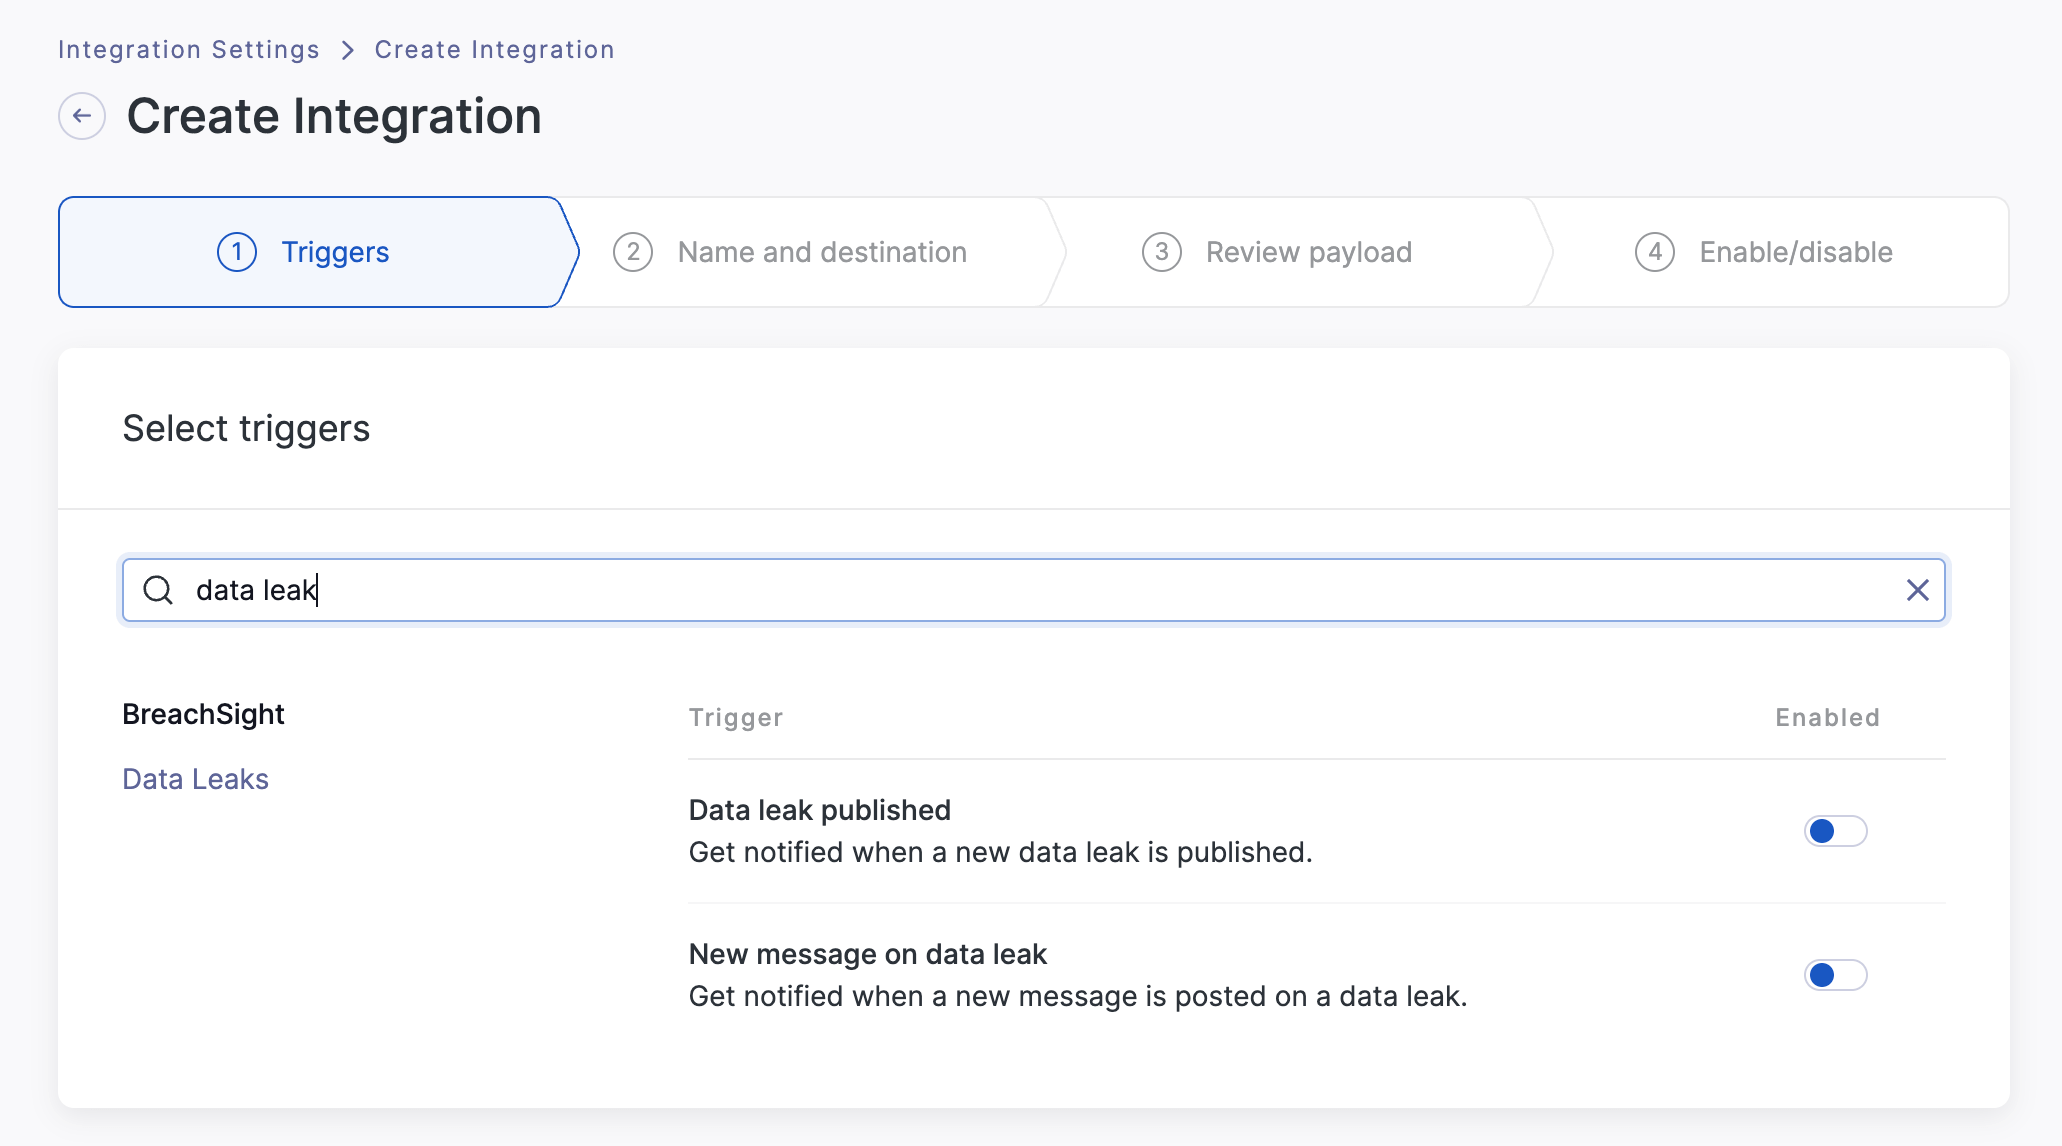
You can search for keywords to load specific triggers. For example, searching for data leak will load the common notifications for data leaks.
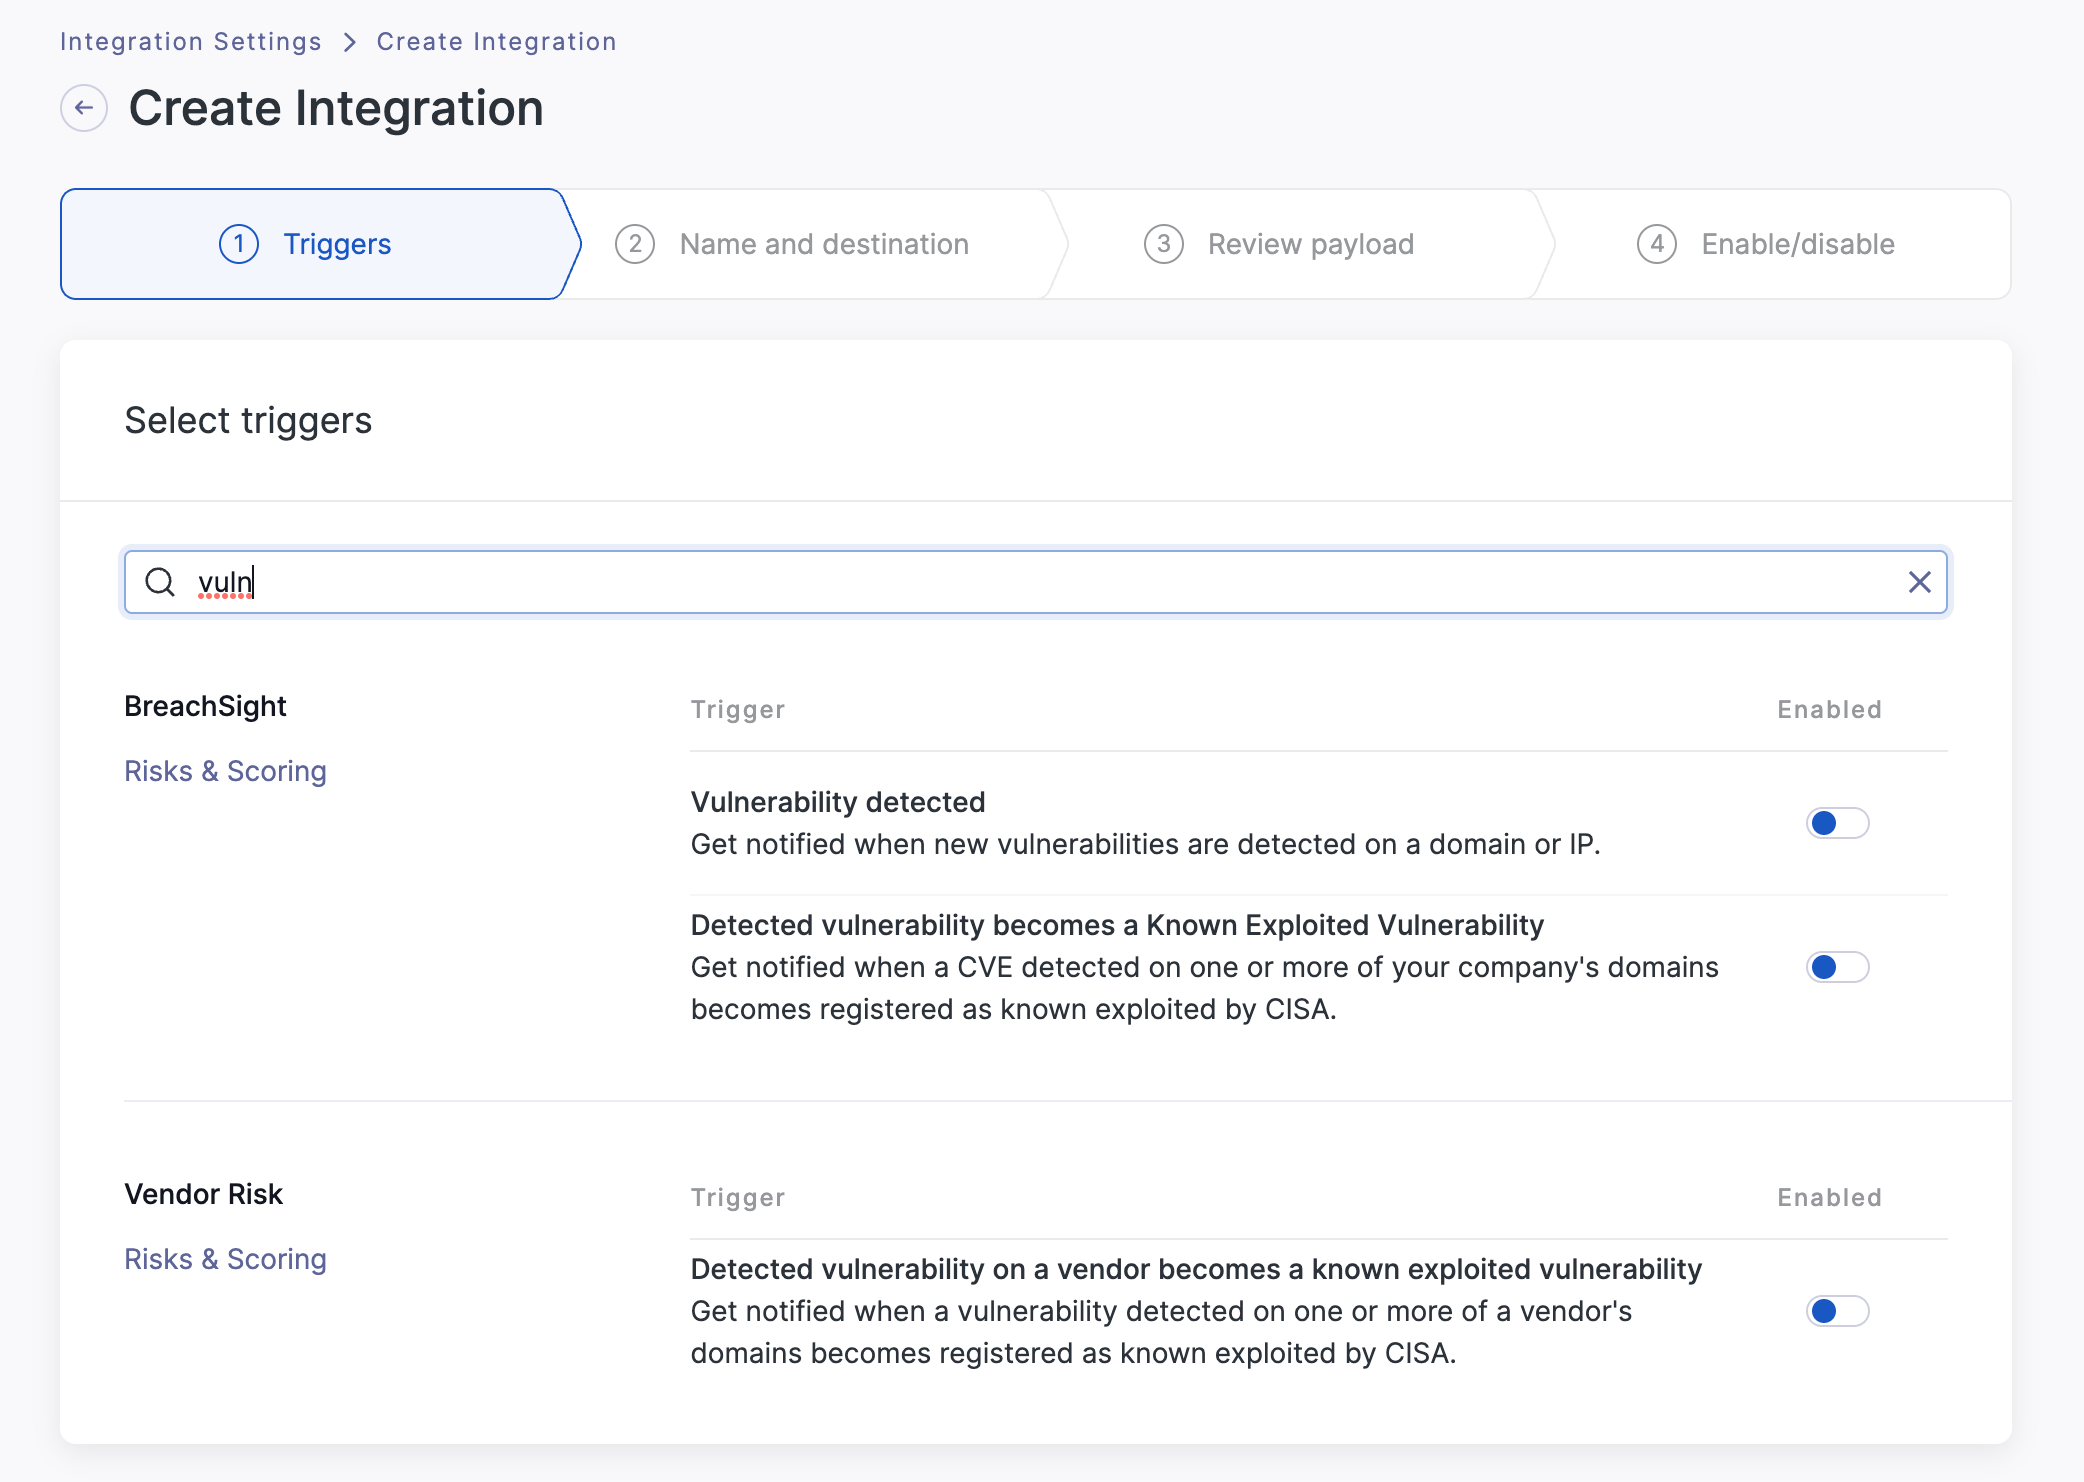
Searching vuln will load the trigger for new vulnerabilities.
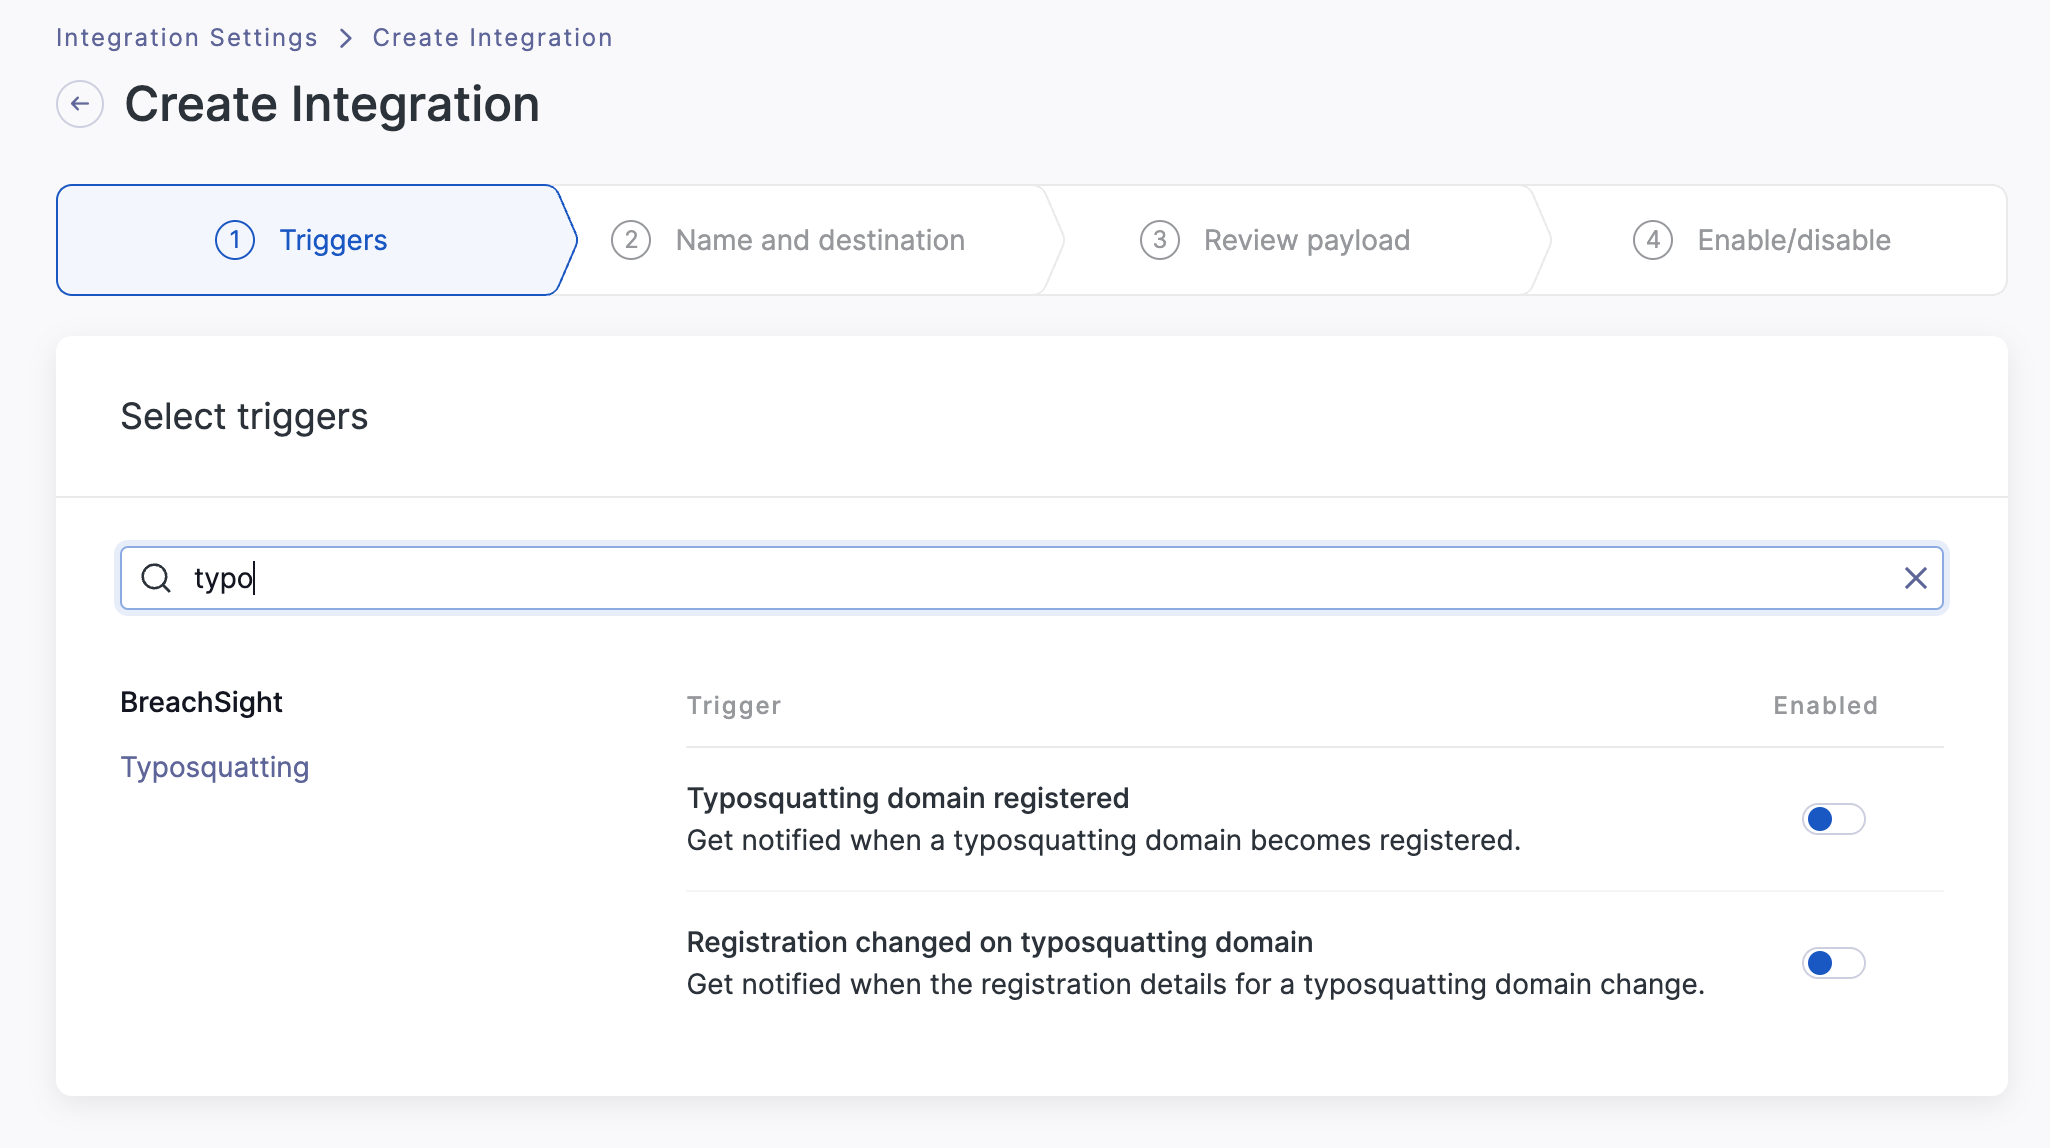
Searching typo loads the typosquatting triggers.
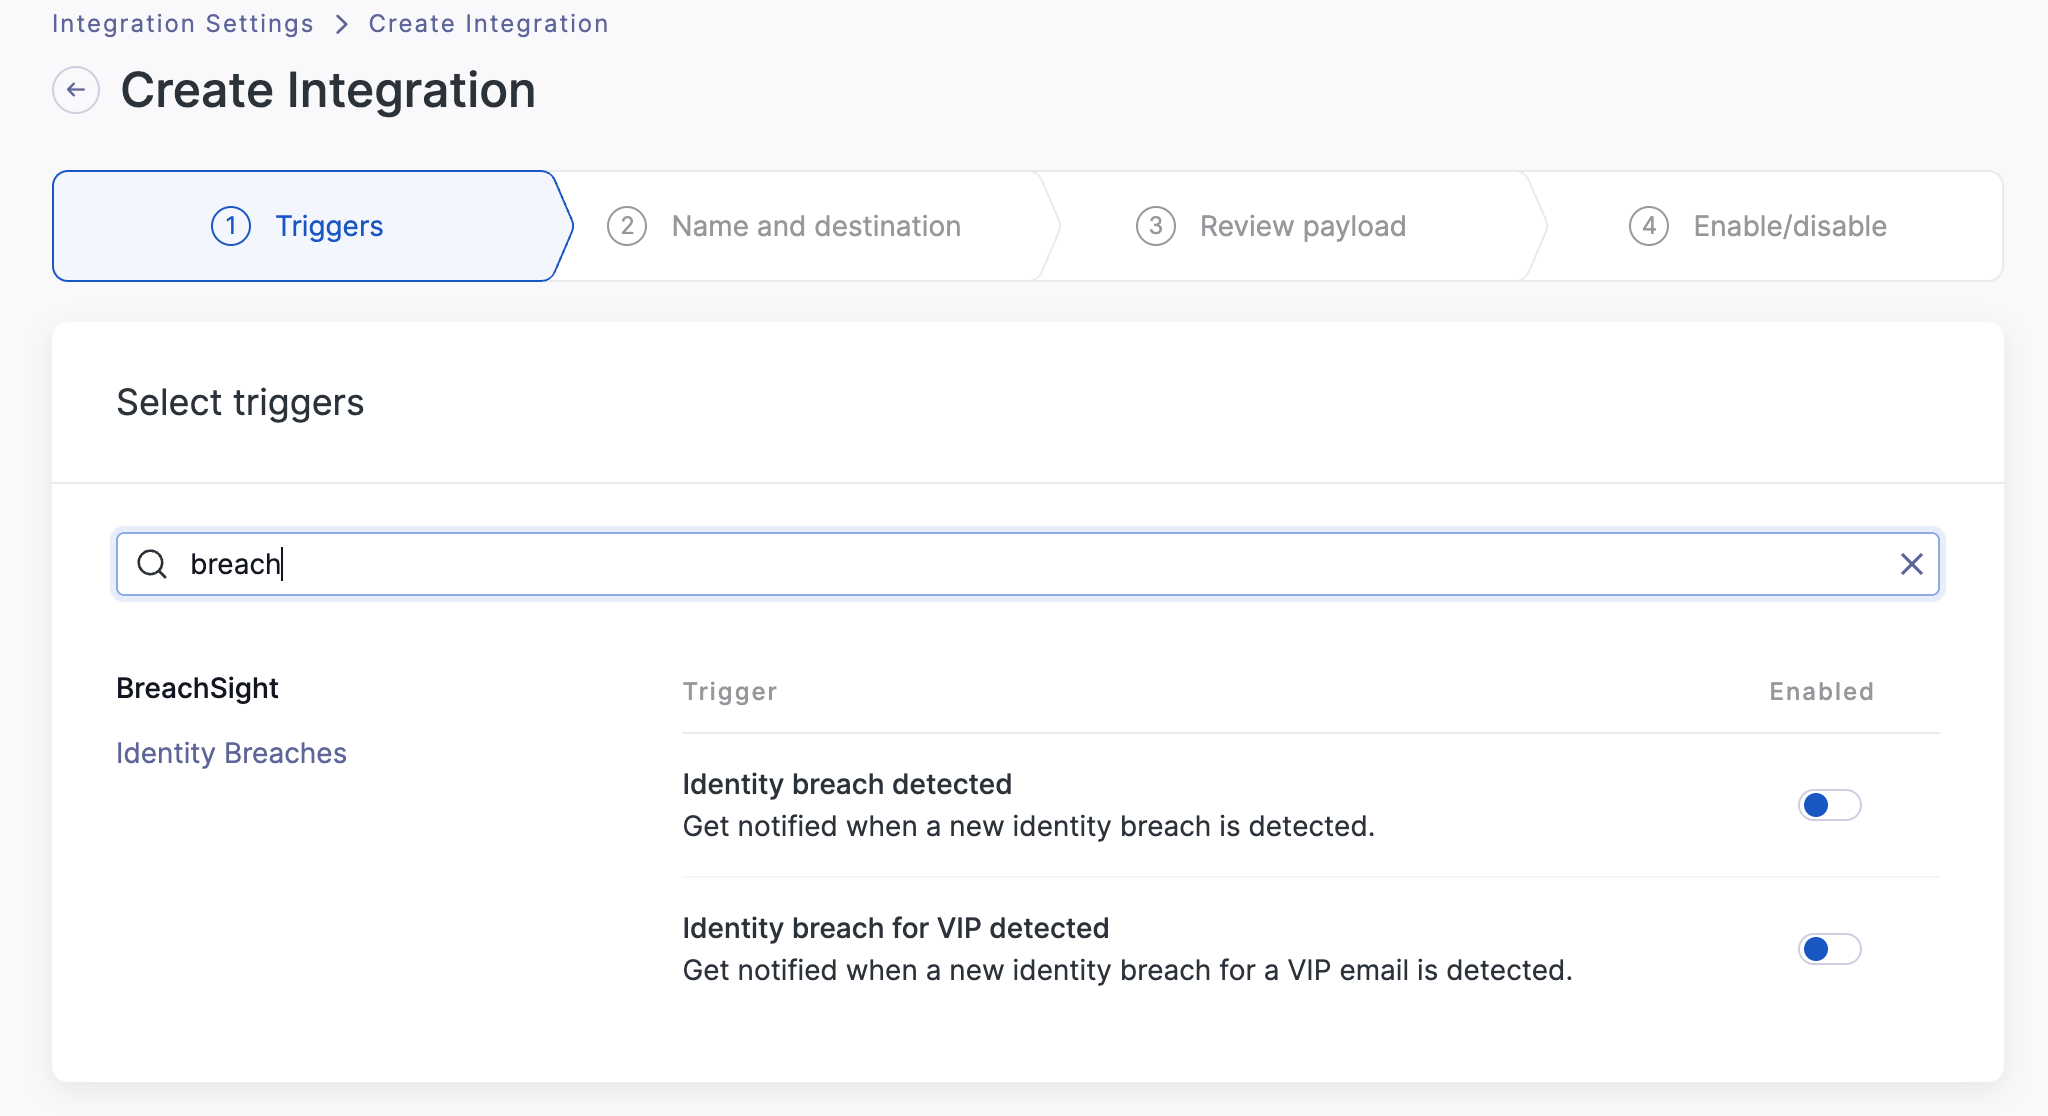
Searching breach loads the identity breach triggers.
When you have selected the trigger notifications you wish to integrate with ServiceNow, click Confirm and next. You'll proceed to the Name and destination page, where you can provide additional details for your integration.
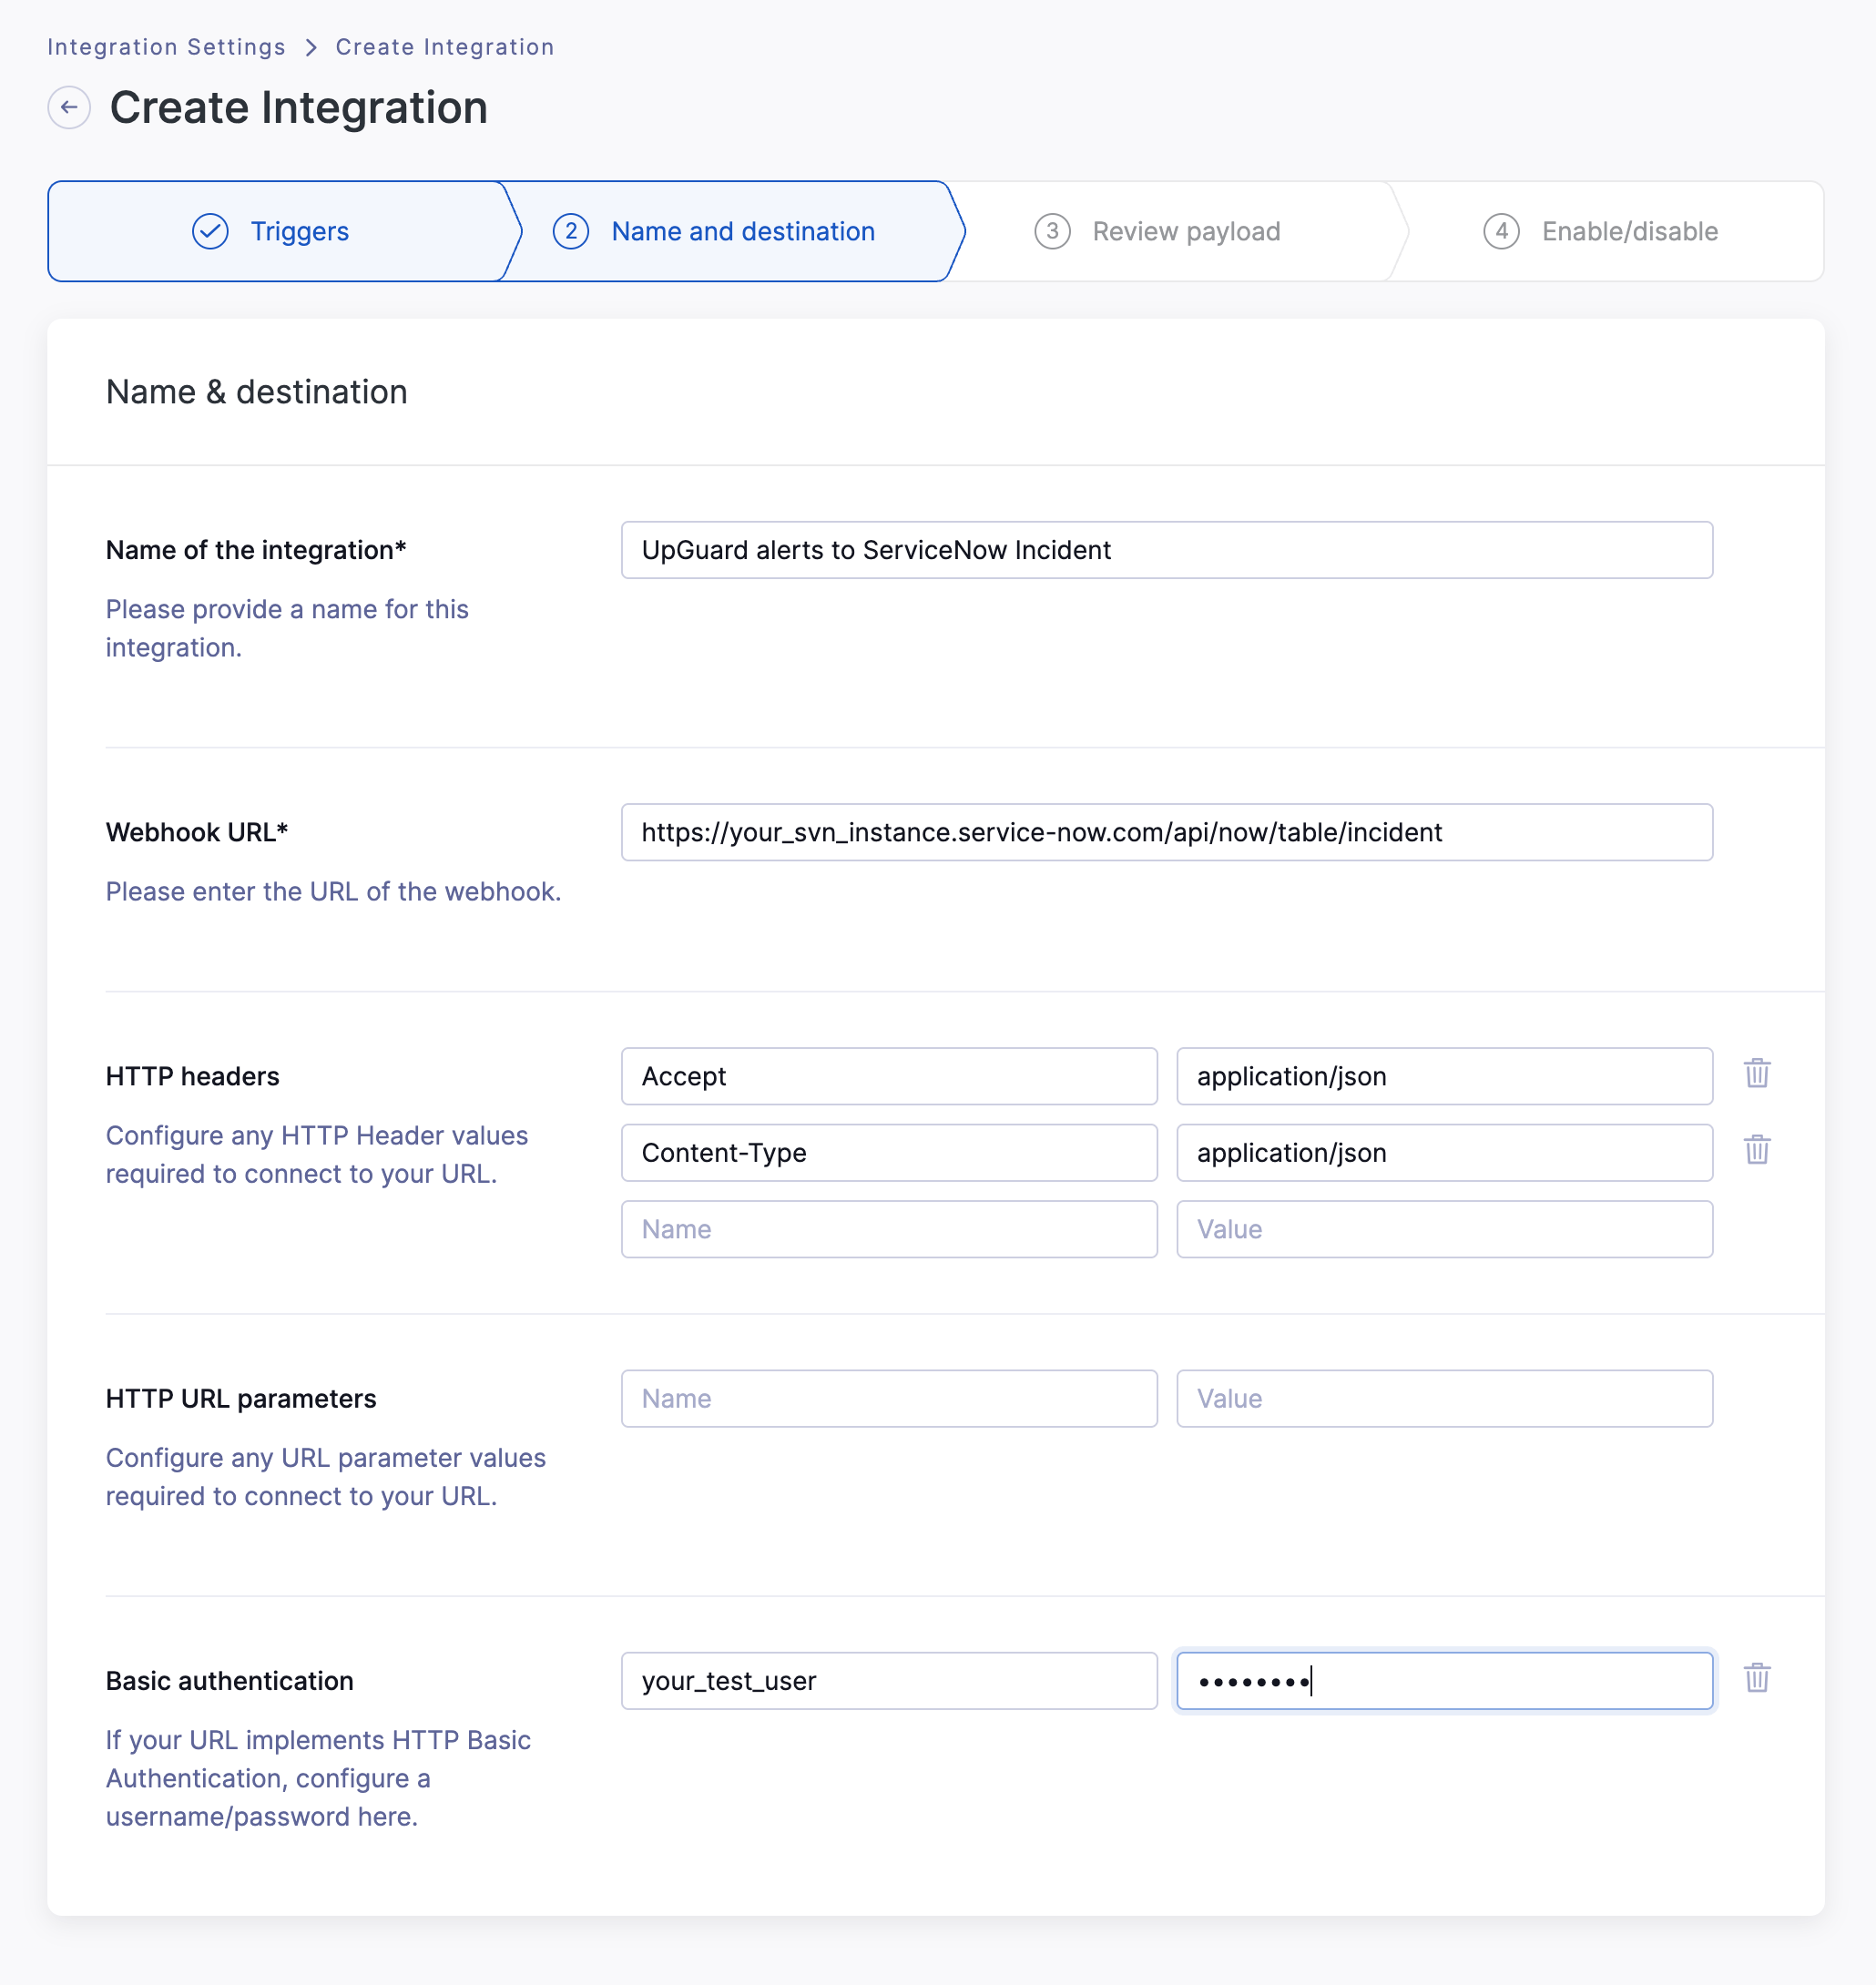
We recommend providing the necessary information to identify this integration within ServiceNow:
-
Name: Provide a name for the integration, such as UpGuard alerts to ServiceNow Incident.
-
Webhook URL: Provide the appropriate URL for your ServiceNow instance, supplying your instance name (
https://your_svn_instance.service-now.com/api/now/table/incident). -
HTTP Headers: Ensure that you set the header values to connect, such as
-
Accept | application/json
-
Content-Type | application/json
-
-
Basic authentication: Provide the authentication credentials you provided for the ServiceNow user.
When you have finished configuring these details, press Confirm and next to continue.
Step 3 - Review and Edit Payload
You'll now access the Review payload setting. The triggers will be listed on the left, and you can update the payload template.
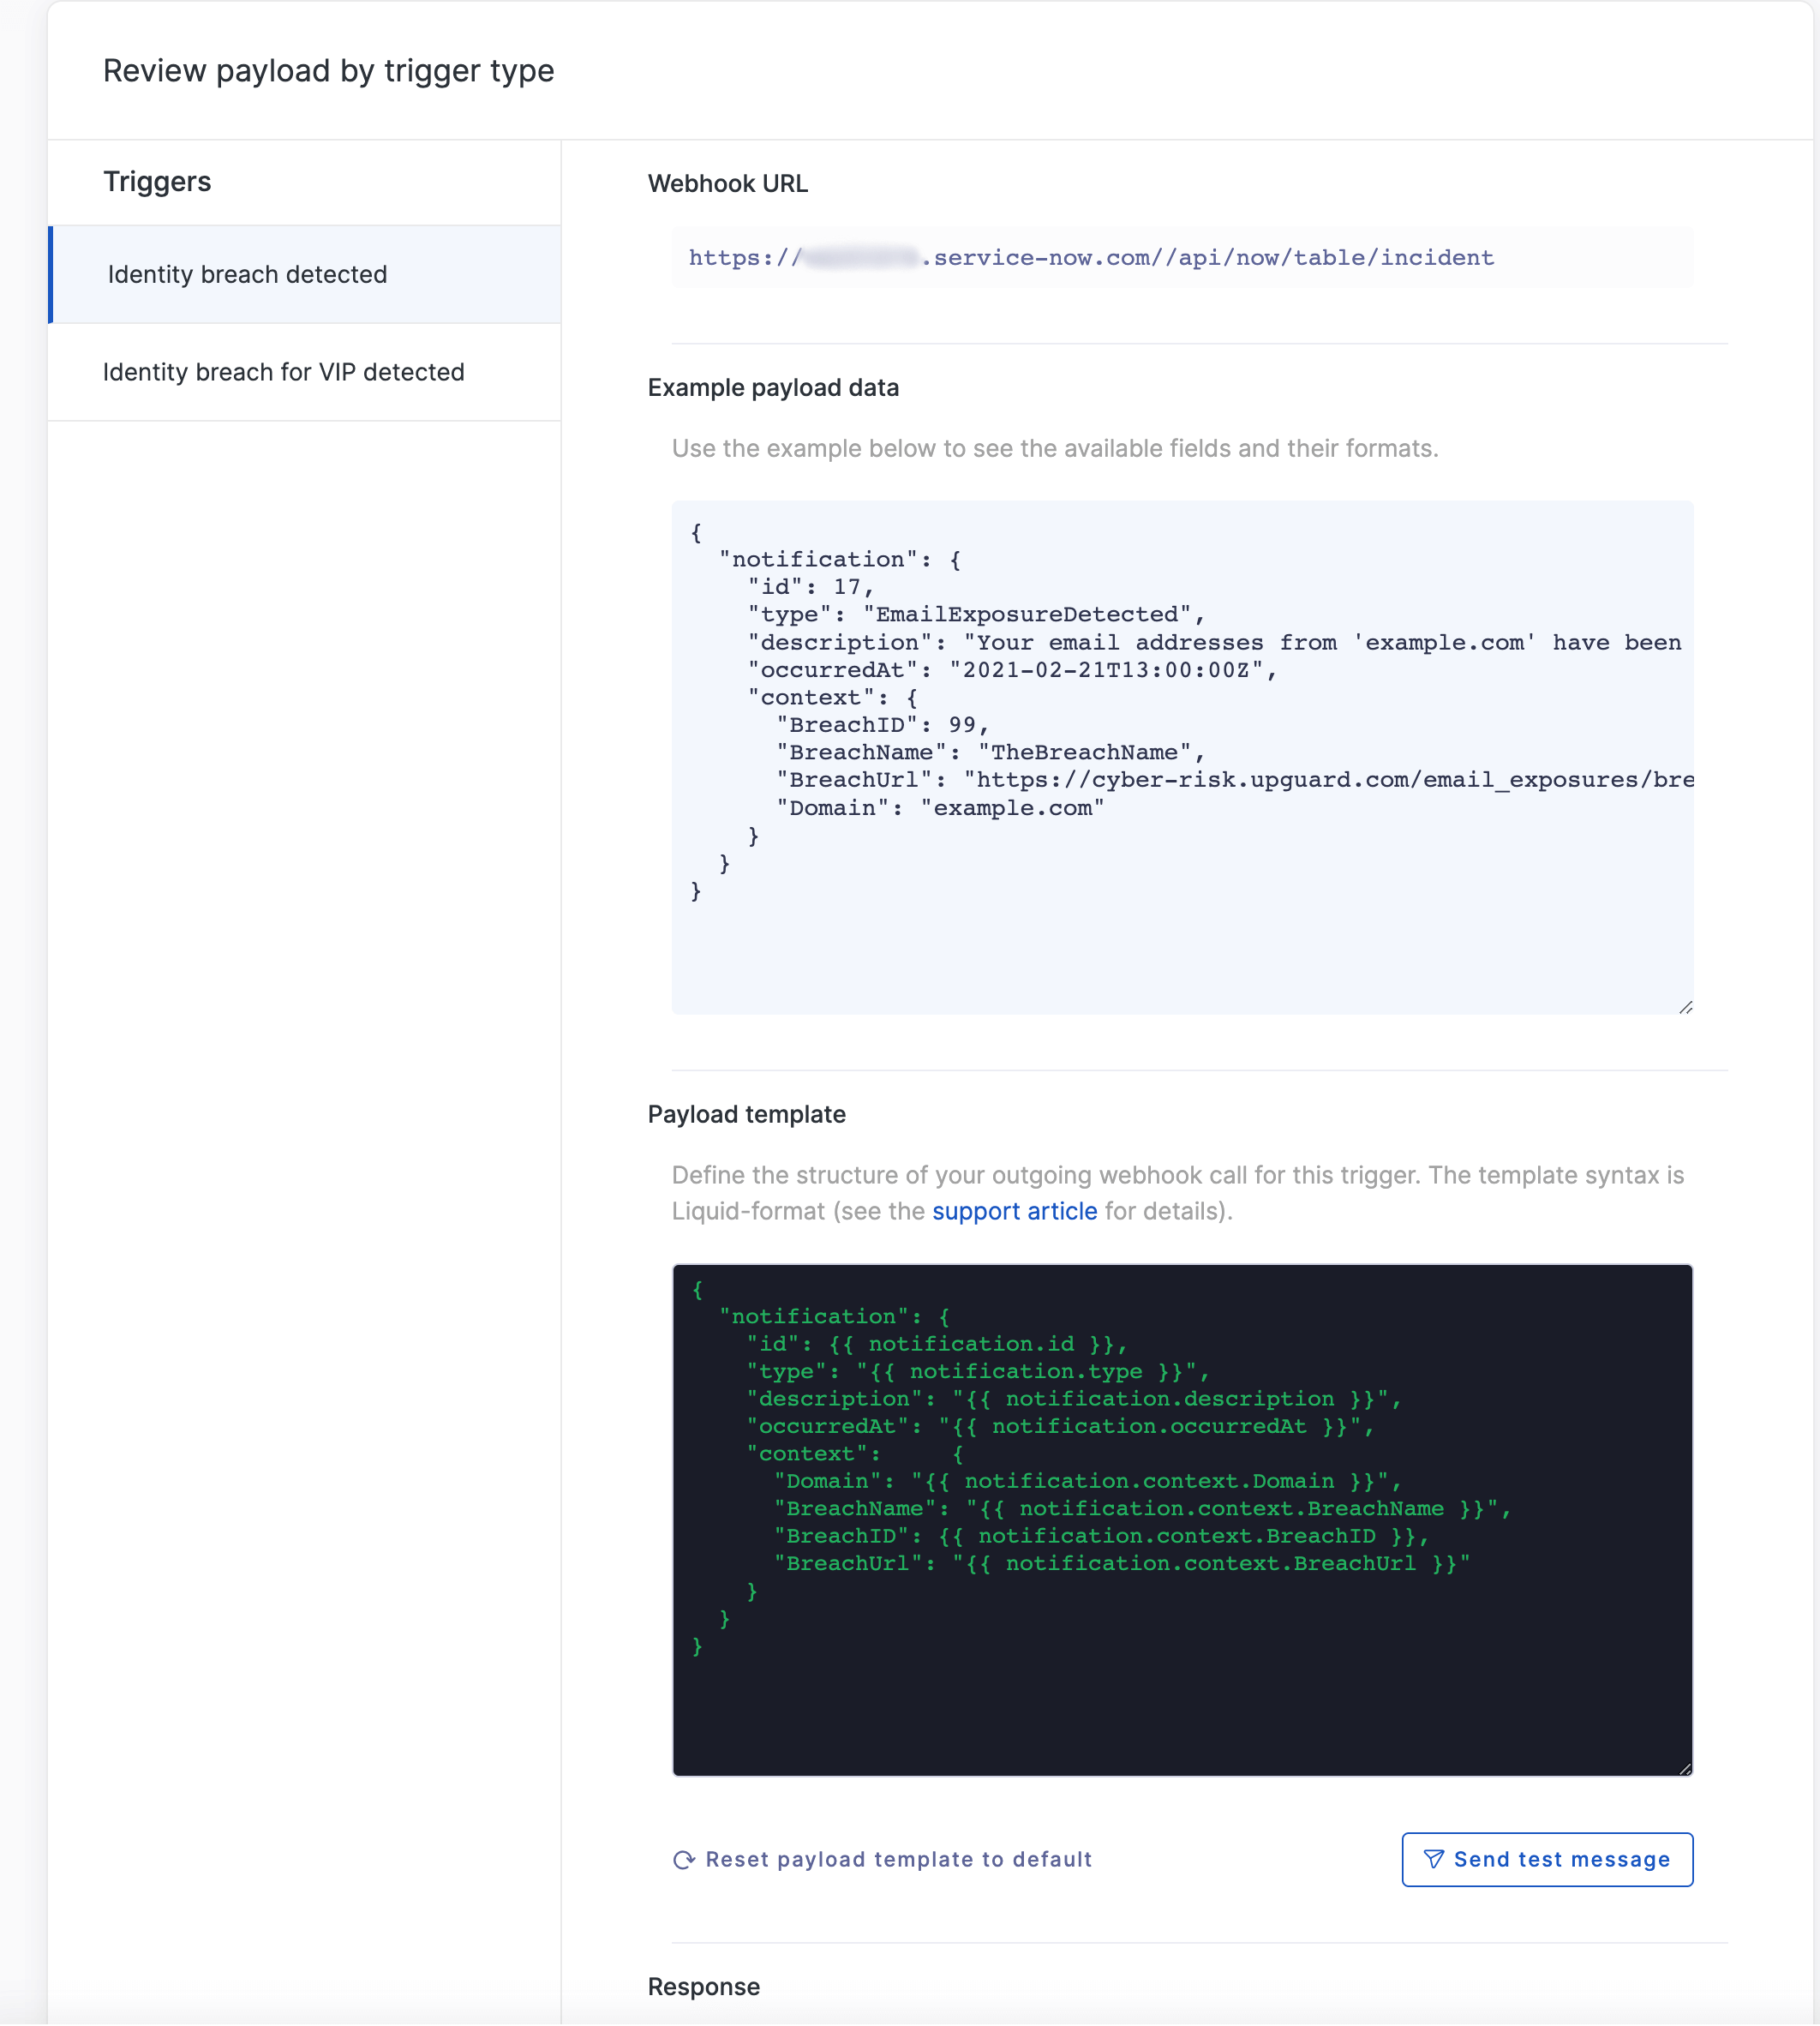
We recommend you use the following approach to simplify creating Incidents within ServiceNow. Use the template below as the basis for all notification types, modifying it as described.
Payload Template
Syntax Highlights
-
The message needs to be in valid JSON format, surrounded by curly brackets
{ }, and is a comma-delimited series of field name/field value pairs -
The field names (such as
correlation_id,short_description) must be enclosed in double quotes and must match ServiceNow column names -
The field values may either be hardcoded values or interpreted fields that extract data from UpGuard and must be enclosed in double quotes
-
The use of double left curly braces . You may include two or more UpGuard data elements within one ServiceNow field such as
" - " -
The ServiceNow API requires that data between two quotations (
"") cannot have newline characters. To insert a new line into any field, use'\r\n'. -
See hints below at how to embed clickable URLS within ServiceNow
Remember
-
Replace the contents of the
impactfield as either 1, 2 or 3 according to your classification of the issue -
Replace the contents of the
urgencyfield as either 1, 2 or 3 according to your classification of the issue -
ServiceNow will calculate the Priority of the Incident based on the values of the Impact and Urgency - see this article for full details
-
Field values beginning with < and ending with > need to be customized. Remove the < and > and replace inside the double quotes as described below.
-
Replace the contents of the
caller_idbased. on the name of the User you established to give UpGuard API permissions (remove the < and > from the field value). -
Replace the contents of
assignment_groupbased on the name of the Group established within ServiceNow(remove the < and > from the field value). -
Replace the contents of the
assigned_tofield based on the name of the User of the specific individual you want to allocate the Incident to (remove the < and > from the field value). You can omit this Delete this entire line if you wish to leave this field empty. -
Replace the contents of the
descriptionfield based on the suggested syntax below (remove the < and > from the field value)
Description Templates
Hyperlinks
The Short Description (short_description) & Description (description) fields are defined as text fields, so any URLs passed to them are simply rendered as text. To allow clickable hyperlinks within ServiceNow you need to populate fields defined as HTML type.
UpGuard recommends using Work Note (work_notes) within ServiceNow to facilitate the inclusion of clickable hyperlinks that point to relevant pages contained within our notifications. To do this you must also use the [code] tag defined by ServiceNow. An example of how to use the Finding URL for a Breach Risk Data Leak is detailed below. You could use a similar format for any field that contains a URL by replacing notification.context.FindingUrl with the right field details.
"work_notes":"[code]<p><a href=\"\" target=\"_blank\"></a></p>[/code]"
Step 4 - Testing and Confirmation
To test the process with ServiceNow, you'll modify the payload template for a sample trigger. Use the button to Send a test message, which will provide a response in the output box.
You should receive a 201 Created response. To confirm the output, navigate to ServiceNow and review the Incidents listed under your Service Desk for the newly generated ticket. You can review the values that were passed from UpGuard to ServiceNow. If data is missing you have likely used an invalid field name or the structure of the liquid syntax inside that field is invalid.
If you receive a 400 Bad request, you have provided an invalid format in the payload template and will need to revise it. Pay attention to things like correct JSON structure such as proper use of curly brackets, field names and field values enclosed in double quotes, and any double quotes within field values being escaped correctly.
If you receive a 401 Unauthorized response, you will need to review the authentication credentials for your API user in ServiceNow and confirm those credentials match the ones you supply to the trigger details in UpGuard.
In UpGuard, continue updating the Payload template for each of the triggers you selected. You can use the following options for common use cases, updating the impact as needed for your organization.
When you've adjusted all of your triggers as needed, continue to the Enable/disable screen. You can set this integration to begin working immediately, or you can disable it for now and manually enable it later.
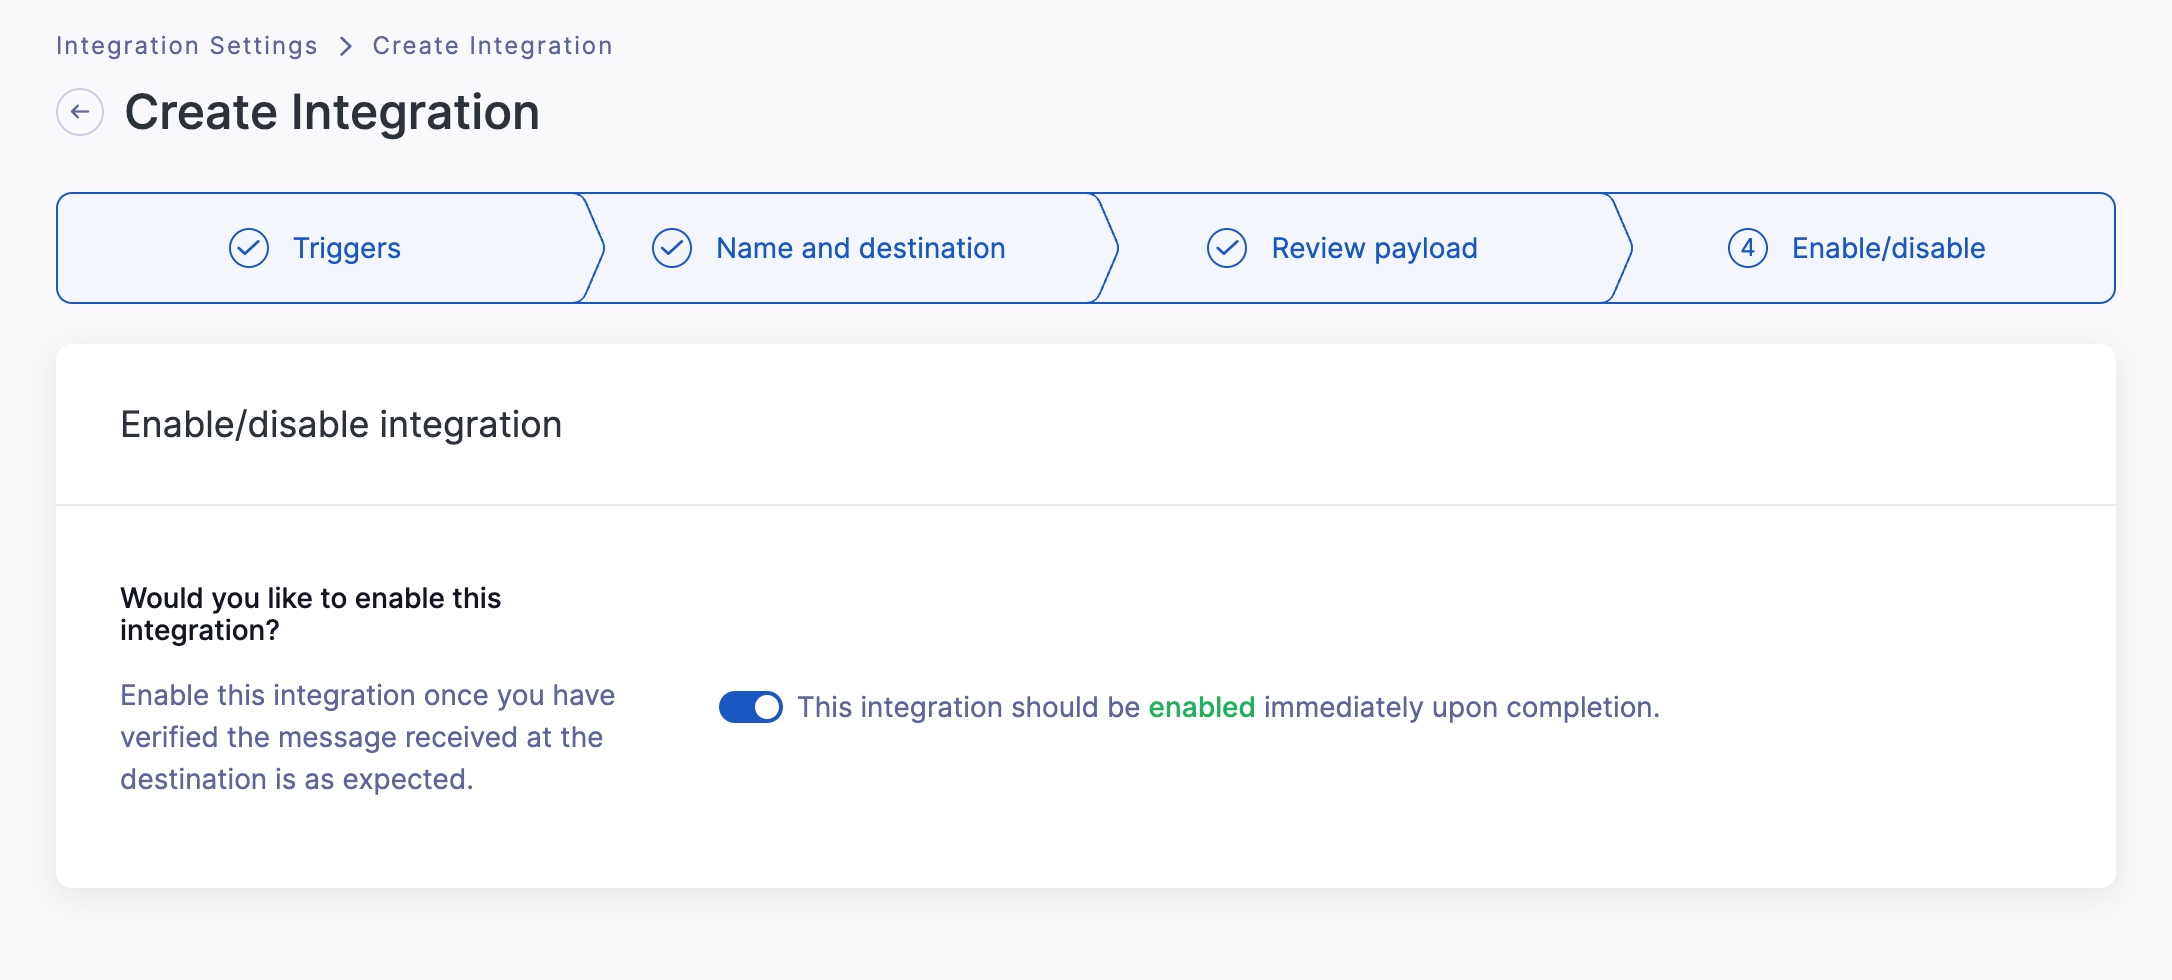
The new notification trigger will be listed in your Integrations tab within UpGuard. You can enable or disable it from this page, and you can also delete or edit it.
Further reading
To continue building integrations, read these articles next:
You can also consider the following options to integrate with ServiceNow's ITSM package:
-
UpGuard Webhook to ServiceNow Scripted Rest API
-
UpGuard Webhook to Zapier to ServiceNow
-
UpGuard Email notification to ServiceNow incoming Email flow
-
UpGuard Webhook to ServiceNow Rest API (which is what you set up in this article)
