Trust Center NDA protection
Trust Centers are repositories for your security and compliance documentation. To protect your business information, you can require a non-disclosure agreement (NDA) prior to access.
Non-disclosure agreement protection requires a representative from an organization to accept your set NDA terms before anyone from their org can view, or request access to view, documents and questionnaires on any of your Trust Centers.
How NDA protections work
- NDA protection (like access protection) is applied at the organization level. A single individual from an organization needs to agree to the NDA, and that agreement covers the entire organization. Individuals within the same organization are not required to agree separately.
- NDA protection is a global setting for your Trust Centers collectively (it cannot be controlled separately for individual Trust Centers).
- NDA protections can either be turned on or off. If on: one person (representing their organization) must agree to your NDA before anyone from their organization can access any documents or questionnaires on any of your Trust Centers.
Tip: You can manually approve an NDA for orgs that have already agreed to an NDA outside of the platform.
NDA protections + access protection
- If NDA and access protection are used simultaneously: the NDA must be agreed to before access can be granted.
- If NDA protection is on, but access protection is off: the NDA must be agreed to before documents/questionnaires can be accessed. Once agreed to, the corresponding documents/questionnaires are immediately accessible (no additional review/approval is needed).
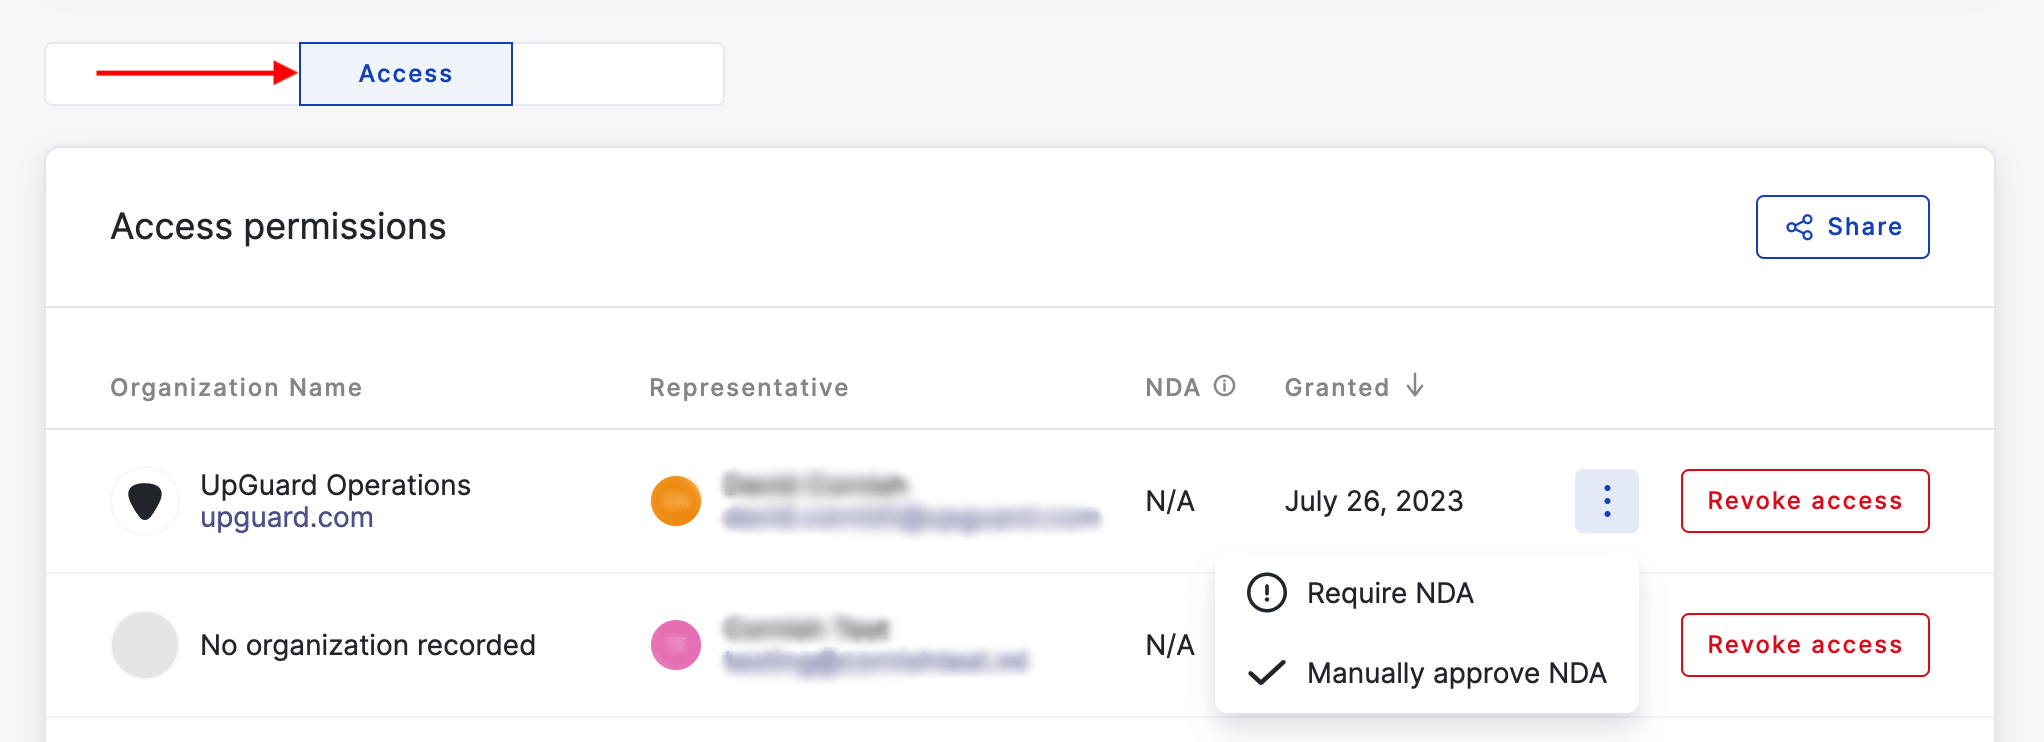
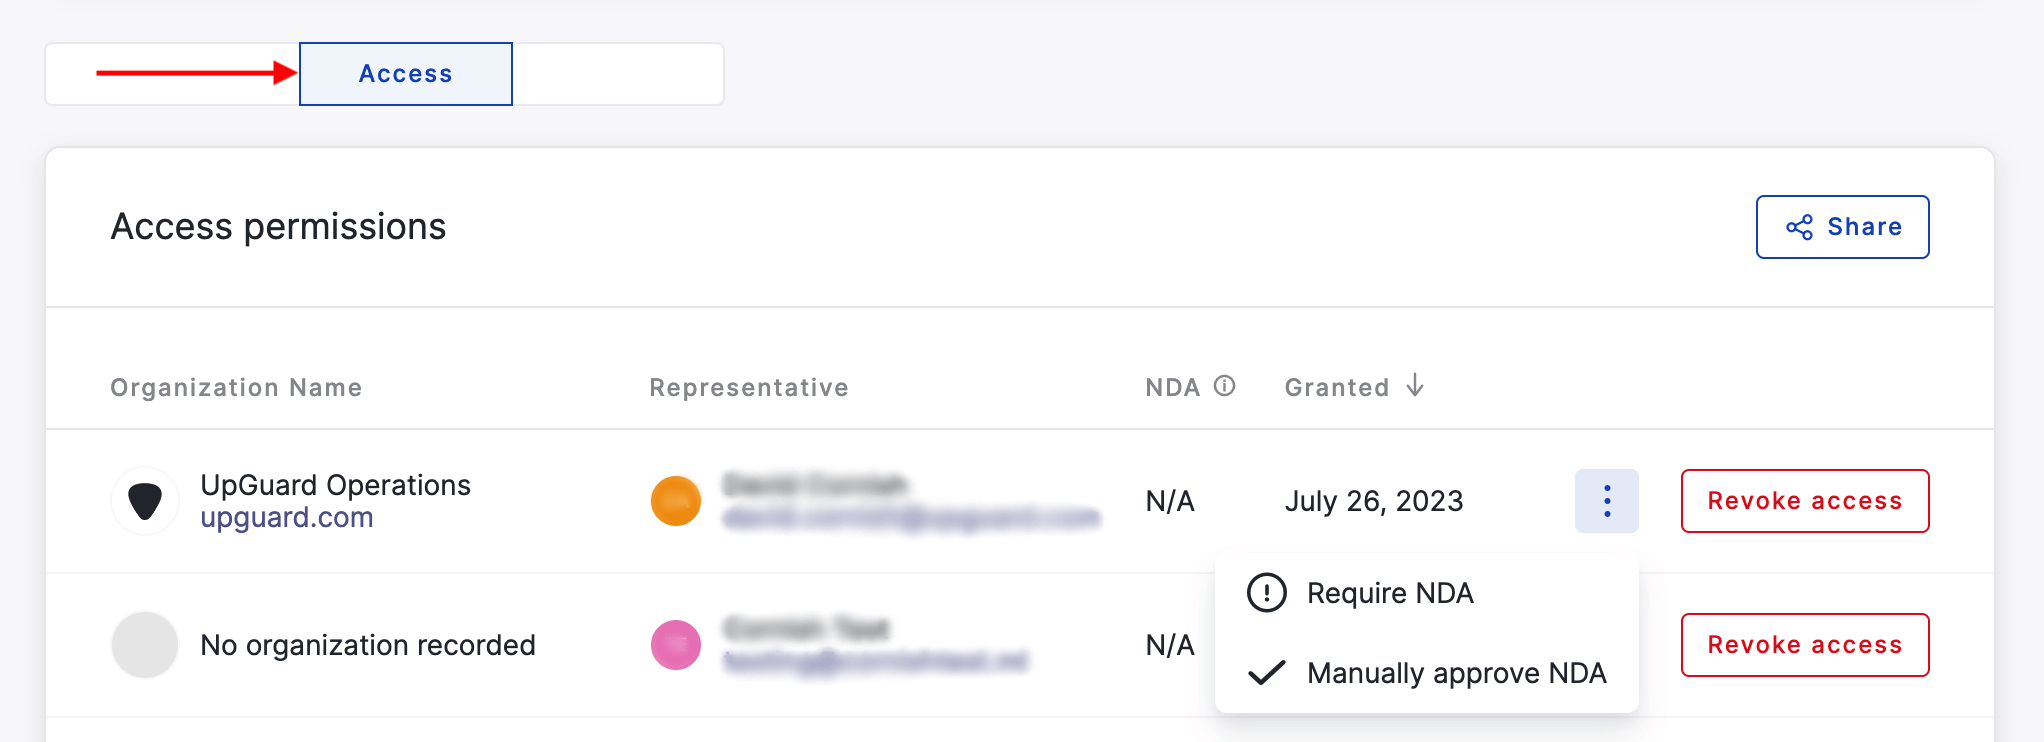
Review who has access to your Trust Centers and who has viewed your page or downloaded resources from the Access and Access log tabs, respectively.
Enable (or disable) NDA protections
You can update the NDA and access protection settings for Trust Centers at any time. However, NDA protection is not applied retroactively, so any organization that had previous access will continue to have access unless you require or revoke their NDA (or access).
- Click the Trust Exchange icon from UpGuard’s left-hand navigation.
- Confirm that you're on the Trust Center tab.
- Click Settings.
- Toggle on NDA protection (or toggle it off to turn it off).
- If turning on NDA protection, you will need to supply terms in the text box that appears. This NDA protection applies to all of your published Trust Centers. Because your NDA is a legal agreement between you and a third party, UpGuard does not provide NDA wording, nor is UpGuard party to the agreement you form with those third parties.
- Click Save changes.
NDA protections are now in place (or turned off) for all of your published Trust Centers.

Tip: You can also enable access protection from this settings page.
Accessing NDAs that accounts have agreed to
You can review accepted NDAs from the Trust Center Access tab.
Download NDAs to see the terms the user (and therefore the organization) agreed to and to see a date and time stamp for the NDA. Users can also access a copy of this document at any time when they access a Trust Center.

You can download any NDA, which includes the details and a timestamp for when they agreed to your terms. Users can also access a copy of this document at any time when they access a Trust Center.
Updating Trust Center protection settings
You can update the NDA and access protection settings for Trust Centers at any time. However, NDA protection is not applied retroactively, so any organization that had previously granted access will continue to have access.
To adjust the access status for an individual organization, such as requesting they agree to new NDA terms, you can update statuses from the Access tab.

You can select from the following statuses:
-
Require NDA: You can require a signed NDA from any organization that wishes to access your Trust Center(s).
-
Manually Approve: You can manually approve organizations that have agreed to an NDA separately from the UpGuard platform. You can optionally use this status to retain a legacy status for any organizations who had prior access to Trust Centers and do not need to agree to an NDA to continue access.
Once an NDA has been agreed to, you can download a copy of the NDA from the NDA column for the specified account.
If you have enabled access protection, you will also have the option to Revoke Access entirely.
Further reading
For more information on Trust Centers, read these articles next:
