Written by Aaron Spiteri
Reviewing a Managed Vendor Assessment
Once an Analyst has completed a Managed Vendor Assessment that you have requested you will receive a Notification in your home screen and or in your email provided you have the notifications enabled.
1. Once you see the Notification Select the View managed service button.

2. You will then move over to the Managed Assessment for the Vendor that has been completed, to proceed select the Review button.
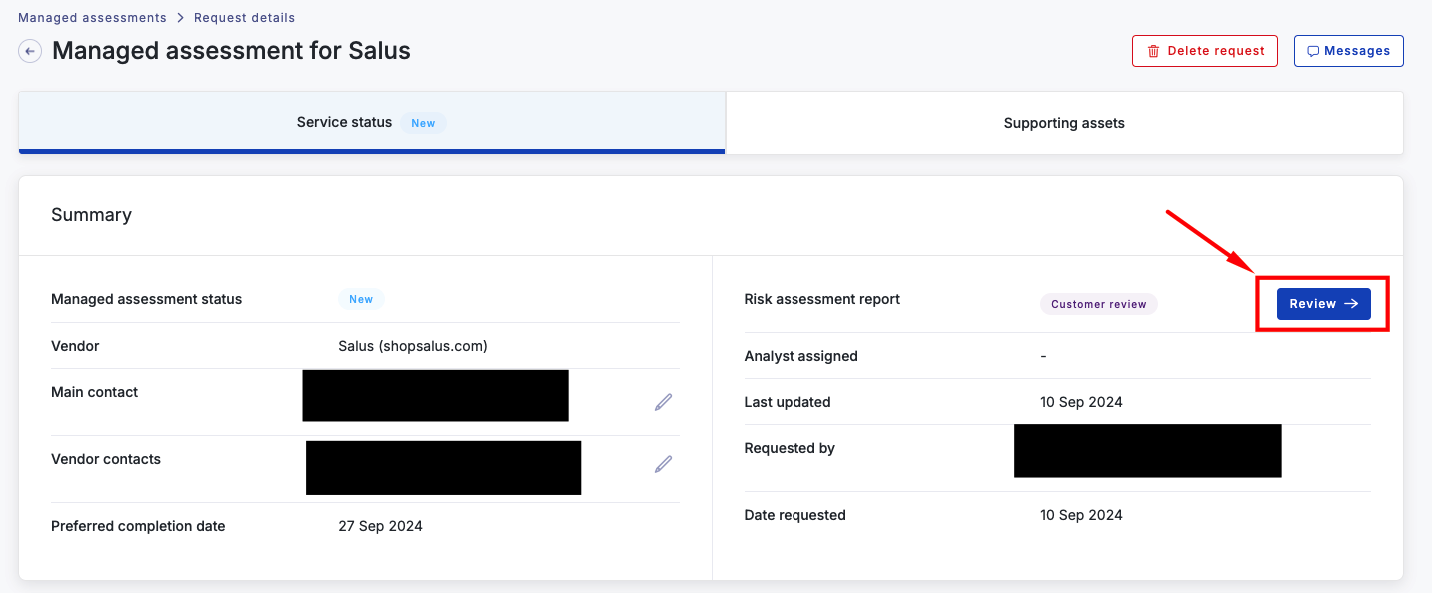
3. You will then be taken to the Risk Assessment, where you can scroll through and review the Analyst's findings. Take your time to conduct a thorough review, and if you have any questions, you can use the messaging function within the platform to communicate directly with the Analyst.

4. After reviewing the Risk Assessment, you have the option to include a conclusion section. If needed, toggle the "Include Section" option to add your own conclusion. This allows you to include specific information relevant to your business before sharing it internally.

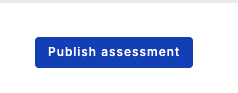
5. Finally, you need to select the Publish Assessment button at the bottom right-hand corner of the screen to finish the Risk Assessment.
6. After your review, the Risk Assessment report will be marked as completed under the Managed Assessments section. A download button will appear next to the completed status, allowing you to download the Risk Assessment report.

Adjust Notification Settings
In order to check your Notification Settings for Managed Vendors follow the steps below:
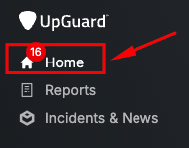
1) Navigate to the UpGuard Home screen from the left-hand navigation panel.
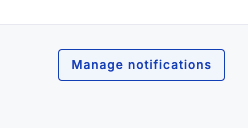
2) Select the Manage notifications button
3) Scroll to the Managed Vendors area and you will see toggles that you can enable or disable which will enable notifications to be sent to you when a Managed service is marked as complete and when a Managed service is ready for review.
